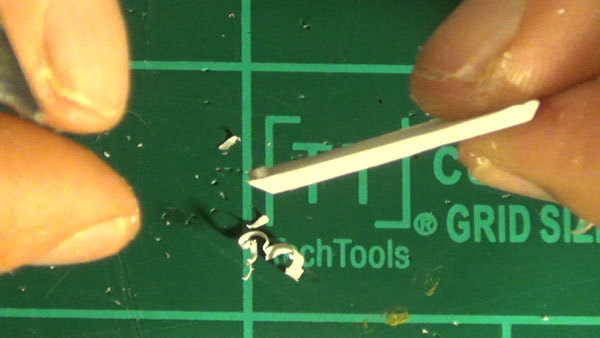
For the octagon ports, you will need a hobby knife, some .040 thick styrene sheets, CA glue (superglue), or plastic cement.
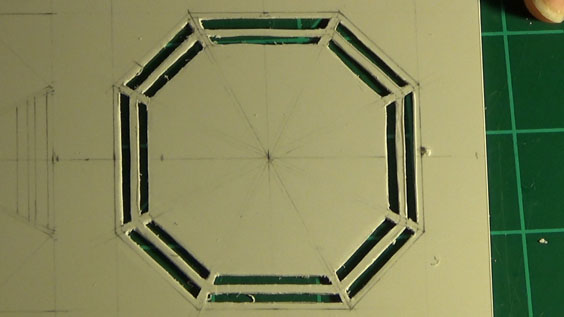
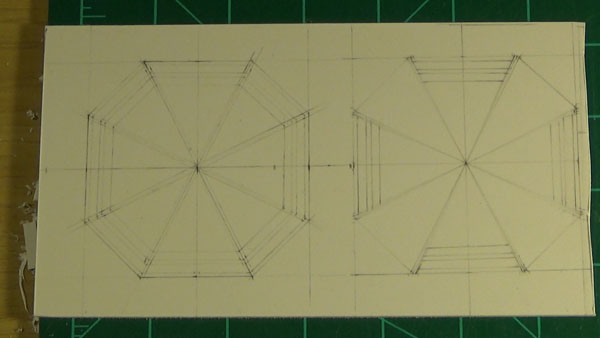
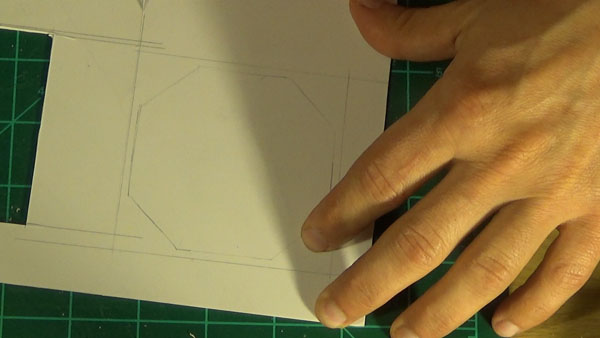
The first step is to lay out the pattern. The one on the right is not a good way to do it. Nothing is supposed to intersect in the middle.
Trace outlines of right and wrong way to make an octagon port
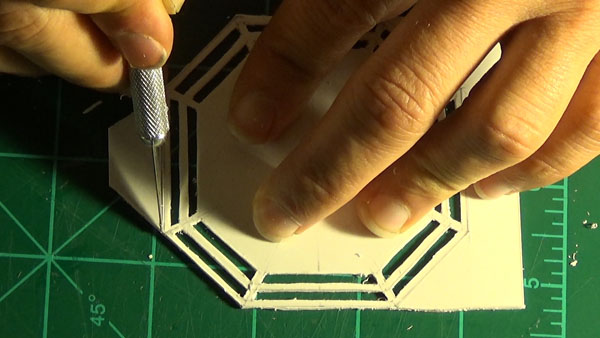
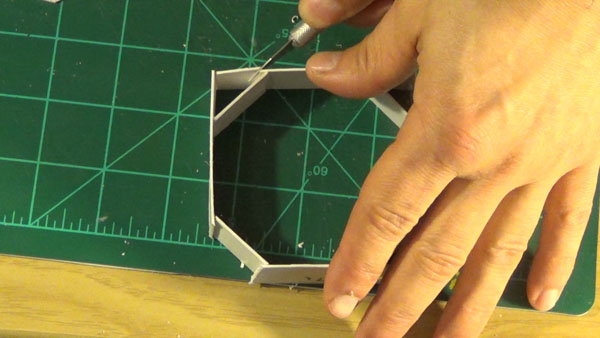
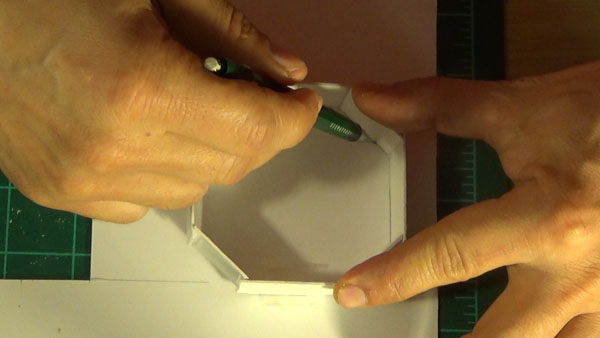
Slowly cut out the outline. Use the hobby knife to carefully do this.
Cutting out the base from the styrene sheet.
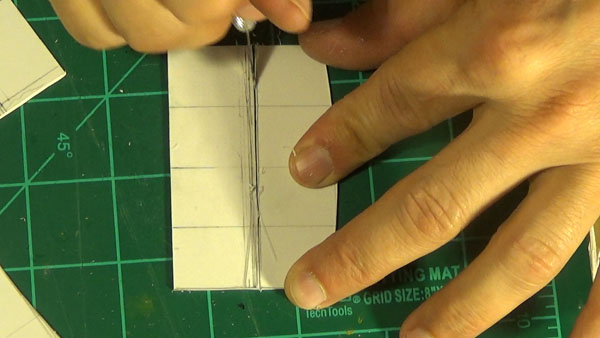
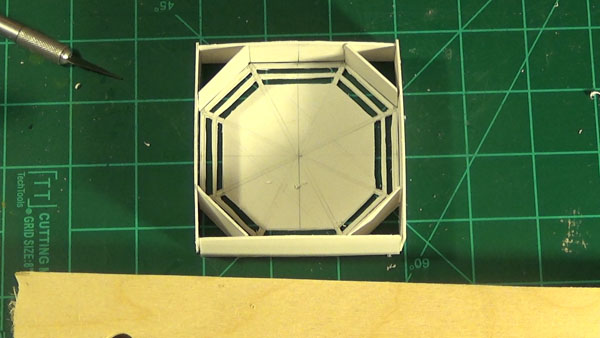
Once all cut, the sides of the box are made. Some sides are rounded and others have sides with two different heights. Check measurements. This needs to fit the curvature of the droid.
Octagon port sidesCutting octagon port box sidesThe sides of the octagon port are beveled to fit better.
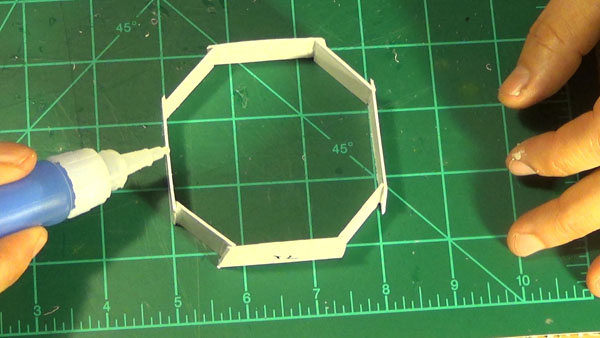
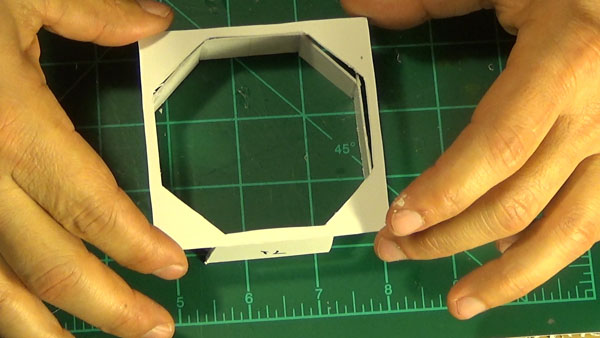
Glue all these together and trim the edges so the top face can be put on.
The complete box without the faceTrimming octagon port boxApplying glue the octagon port outer box
Use this box to make an outline for the top face. I traced mine and moved it along the arch at the same time to make sure the box had proper measurements.
Tracing box outlineTraced octagon port top of box
Once the top is cut out, glue it to the box along the curved parts.
Gluing the top face of the octagon port in place
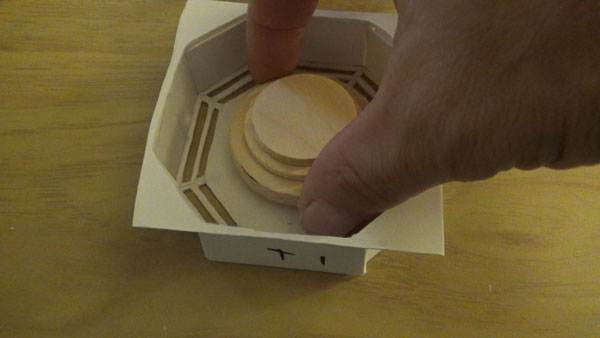
Glue the bottom on to that and we will make the circle discs that go on the inside in our next post.
I used a tablesaw to build my coin slots from wood, with a drill press to route out the depth slots.
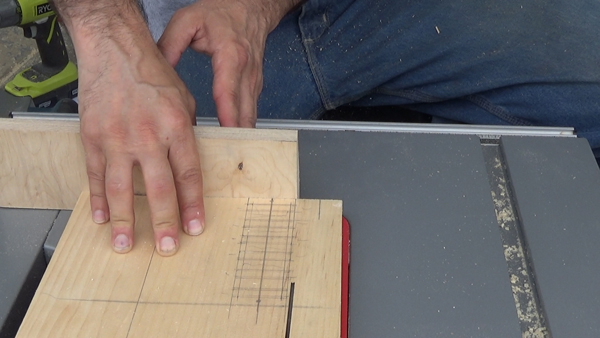
The first thing I did was draw the slots out on a block of wood. Measure twice, cut once! Measure the whole thing to make sure it all lines up because I had issues with the way I did it the first time.
Draw slots and trim out
Once trimmed, I work in reverse on the table saw, pulling everything towards me from the back side so I can see my lines and make sure Im on the mark.
I start by creating the upright portions of the slots by marking the wood on the side so I know what to cut and not cut. Be carefull of what side your blade is on when you do cut, otherwise you will ruin your work. The squiggly lines represent the sections that need to be removed. Alot of lines can get confusing, so I tried to make it simple.
Mark Sides indicating where to cut.
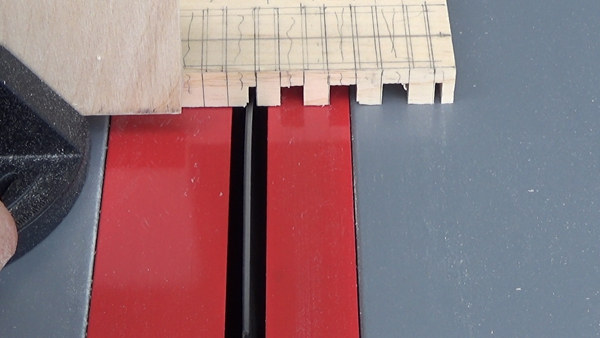
I cut the uprights first. Working slowly and making sure I was on the proper side of the line with the blade when cutting them out. The squiggly lines came in handy so I knew what side I needed to be on.
Cut Slots
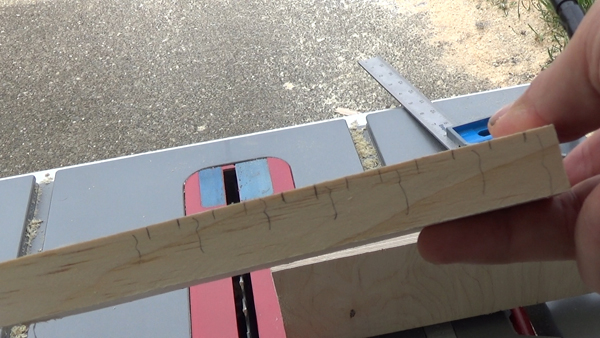
I then angles the blade by doing some math to figure out what the angle should be per the plan. My saw only allows the blade to angle in one direction, so I can only do one set of uprights at a time. I then have to flip the piece to do the other side. The advantage to this is that the blade stays at the same angle.
Bevel Uprights of the Coin Slots
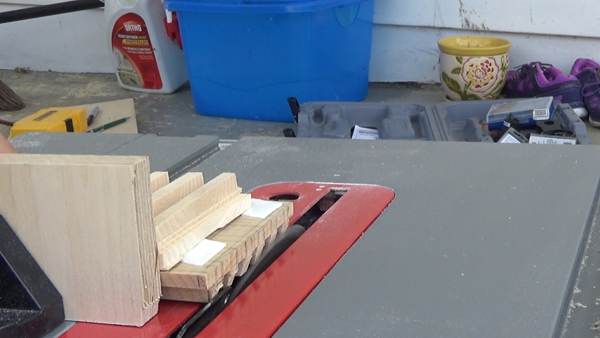
After the uprights are cut, I angle the blade again for the sides along the length of this piece. I used some double sided tape and extra boards since the wood gets smaller and I didn’t want to loose my fingers.
Bevel Side of Coin Slot
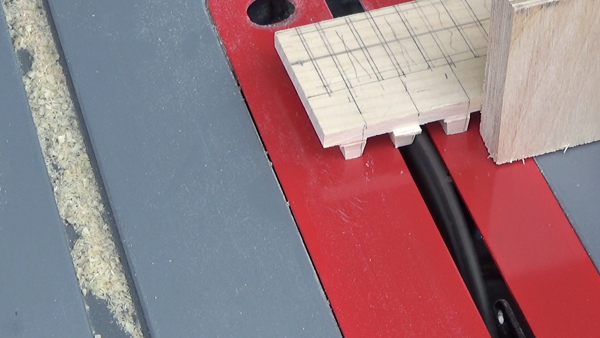
I separated the piece from the rest of the wood and routed out the slots with the drill press. I drew a line down the center of each slot and slowly moved the drill press along the line, going deeper each time, and periodically clearing out the wood shavings.
Route slots with Drill Press
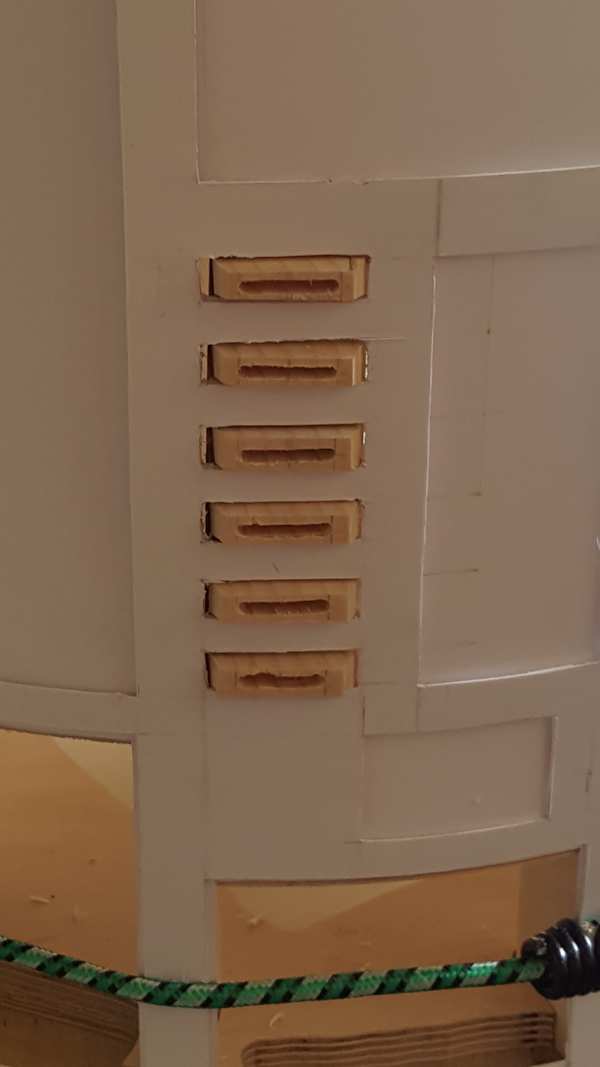
This is what the final piece looks like without any paint.
For everyones viewing pleasure. This is how I made my wood LDP. keep in mind it is not sanded or painted yet, hopefully it is the correct size!
I started with making a jig to create the bevel on the LDP.
Bevel block for jig.
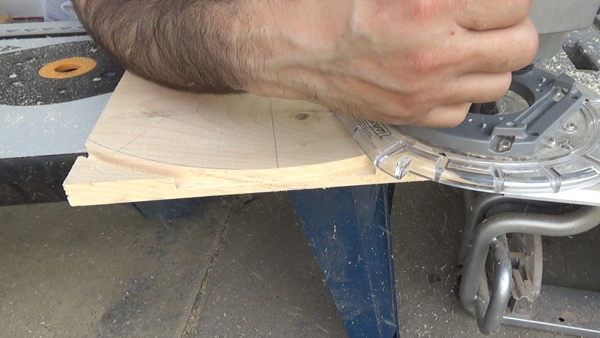
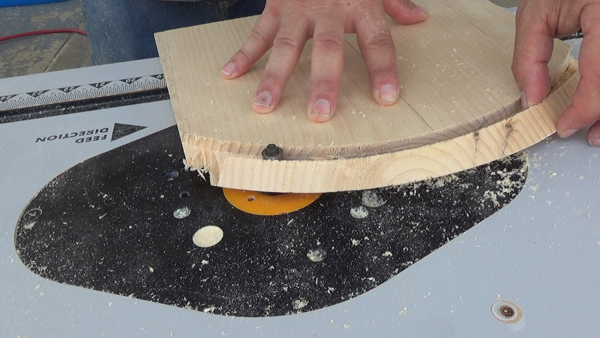
I routed out the front and back radius on the top and bottom parts of the LDP using separate pieces of wood.
Cutting LDP Radius
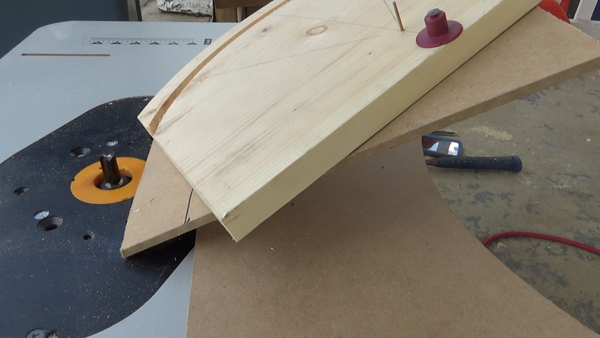
After that, the jig was used to create the bevel. I did not hurt myself!
Bevel JigCutting the Bevel of the LDP
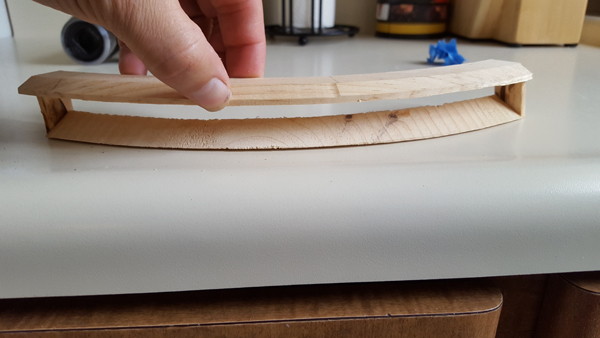
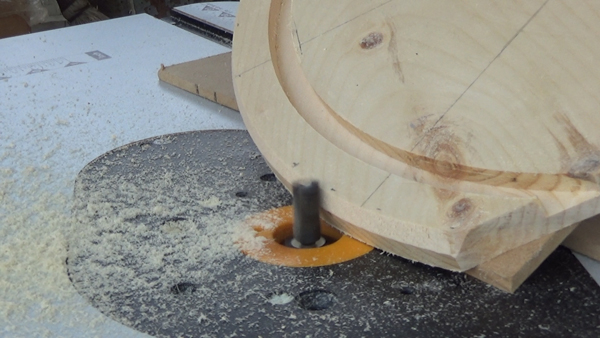
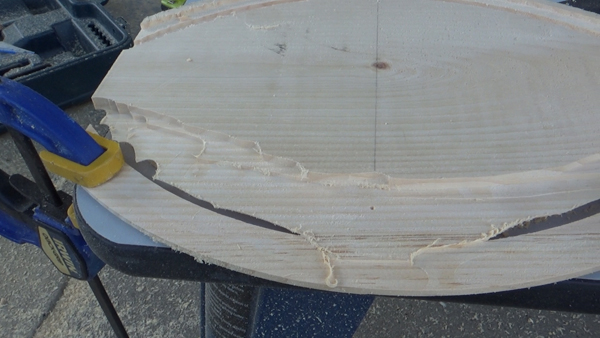
Once the bevel was finished, I routed out the rest to make everything the proper dimensions and than, used the top bearing bit to seperate the pieces from its original wooden plank.
Rout out underside of partSeparate pieces with top bearing bit
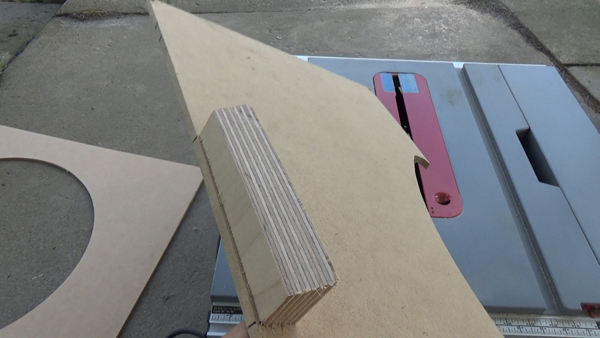
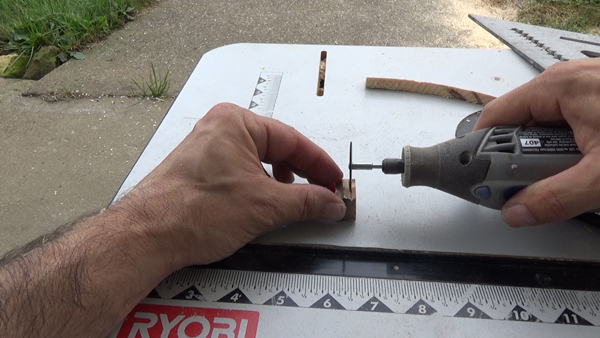
I used the remaining wood to make the sides, by cutting a small cube per the dimensions of the plans and than cutting two side pieces from the cube.
Cube for sides
Now it just needs sanding, painting, holes drilled on the bottom piece and assembled.