Installing Captive Push In Studs for the R2D2 Dome

The  majority of builders use Captive Push In Studs to help hold electronics in place on the dome.   Although they are supposed to be mechanically pushed into the aluminum, most do not have this capability.

The tools used are a sharpie, drill and small bit according to the captive stud specs, and a countersink bit.
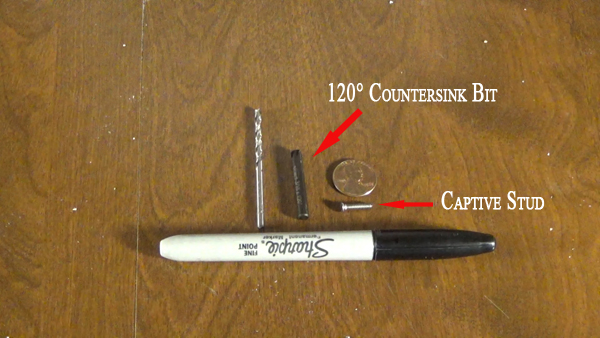
Tools for captive studs
Tools need for captive studs

First,  the spots must be marked for the studs and than a small hole drilled.  I did mine from the inside of the dome.
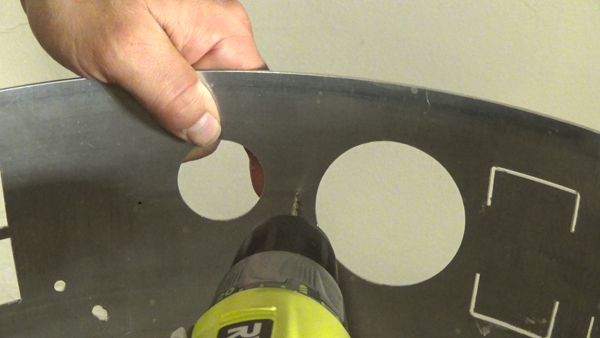
Drilling the hole for a captive stud
Drilling the hole for a stud

After the small hole is drilled,  the 120° 3/8 drill bit is used to countersink the dome from the outside.
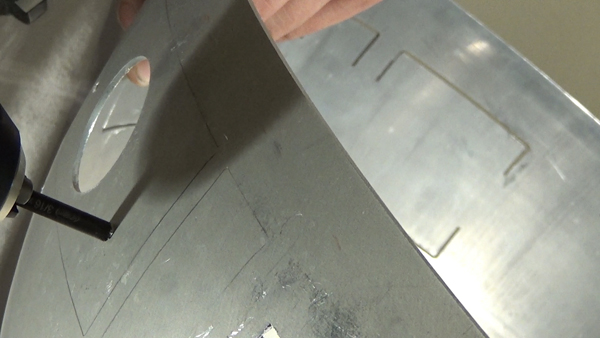
Countersink used for captive studs

Next, the captive stud is pressed in.  It sits just above the metal and should not be flush.  The goal is to tighten the stud until the barbs on the backside grip and twist into the dome.
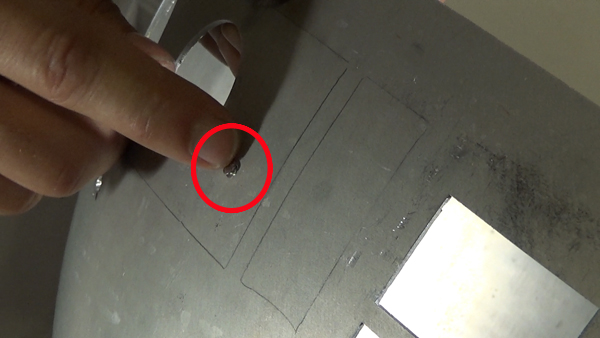
Captive stud in hole
Captive stud before pulling tight.

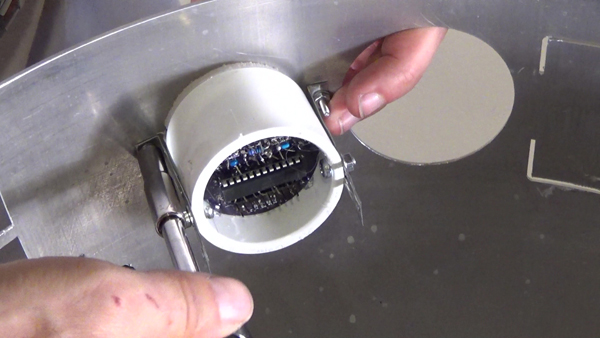
Once, in place, use a washer and nut on the backside to torque the stud into place.  You will know when the stud is seated properly when it does not move.  It would have to be hit with a hammer to get it out. I installed the  PSI’s  and Holoprojectors with my DIY mounts.
Tight captive stud
Tighten nut for captive stud

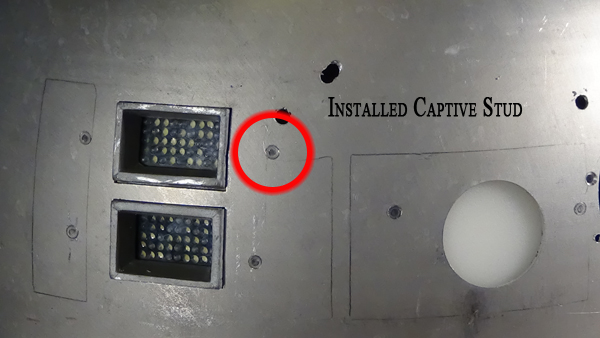
Here are the captive studs intalled from the from to hold the Logics and PSIs in place.
Studs installed
Installed stud on the front of the dome

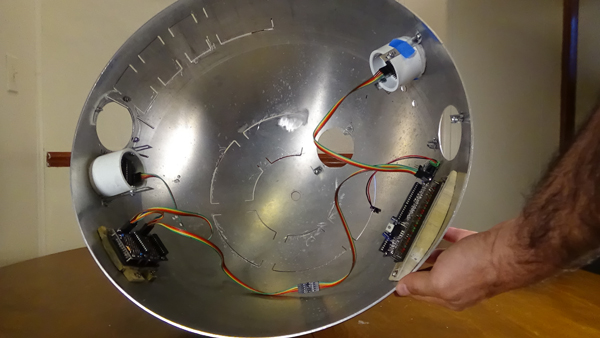
This is what it looks like from the inside.
Installed Lighting
Installed Logic Displays and PSIs from inside the dome.

The PSI Housing from PVC Coupler and Cutting Board

Cotton round in PSI

In order to make the PSI LEDS diffuse, we first need a housing to put them in.  The back PSI hole is larger than the front, so an 1.5 ID PVC coupler is used for both front and back. The size does not matter since the light will look the same regardless of the size of the coupler.

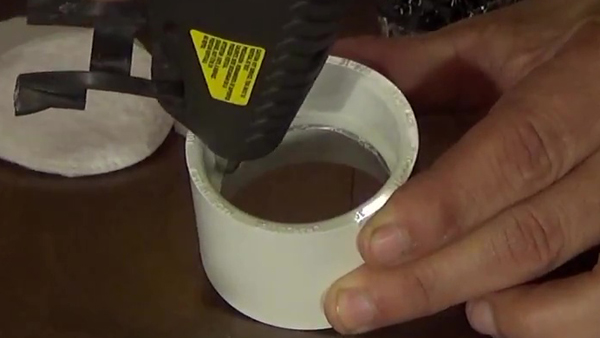
A bead of hot glue is first applied to the inside of a 1.5″ PVC Coupler.

Hot Glue in PVC Coupler
A bead of hot glue is applied to the inside of the 1.5″ ID PVC coupler.

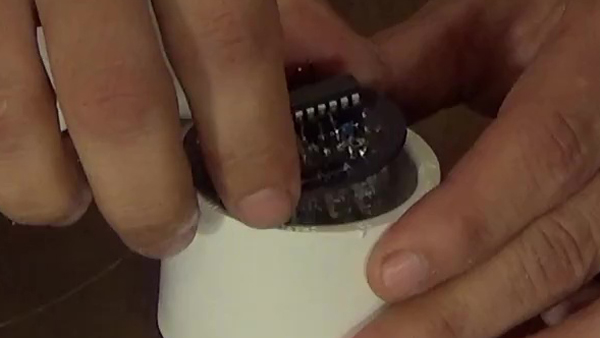
The PSI Electronics is than dropped inside of the PVC and held in by the hot glue. Be careful when you place this in. The LEDs are placed downwards so make sure they do not get damaged by the inner edge of the coupling.

PSI into Coupler
The PSI Electronic LED is dropped into the coupler.

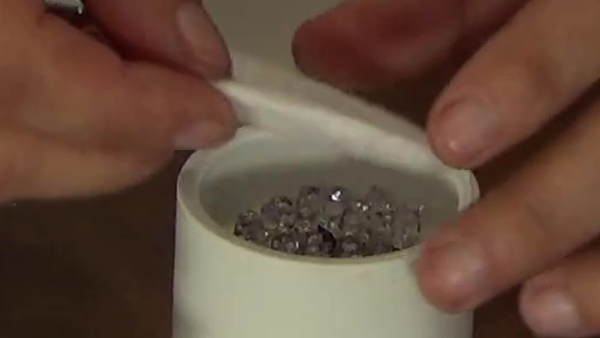
Two cotton rounds are placed inside of this to diffuse the light from the LEDs so they appear as one color and not separate bulbs.

Cotton round in PSI
Two cotton rounds placed inside the PSI Housing to diffuse the light.

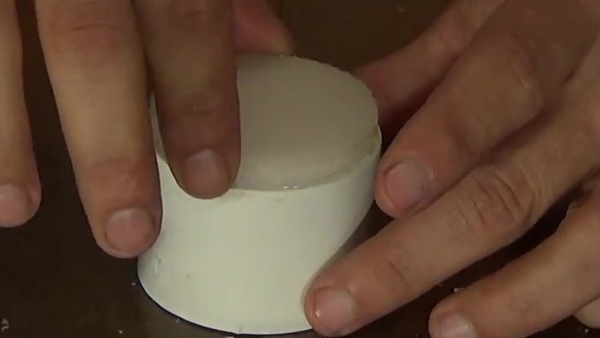
Another bead of hot glue is placed on the top of the PVC housing where the cotton rounds sit. Place the cutting board circle on the glue and hold until glue sets.

Cutting Board on Coupler
Putting the Cutting Board circle onto the Coupler.

Hook the PSI up to the electronics to see how it looks!

Researching the lights

Researching the lights can be confusing at times especially when learning the names and what they do. Once you have that figured out, you need to research how to build them and that is when things get a bit scary, especially if you are electronically illiterate. Don’t let it scare you! Once you get pointed in the right direction, it gets easier. A good place to start is the Droid Wiki parts terminology page.