
The lighting system works off of the Arduino Pro Mini from sparkfun.com and can be found HERE To get this to work, it needs to have a 5pin header soldered to it and then soldered to the PCB of the RFL. Once, the header is soldered, it would be a good idea to program a sketch into the Pro Mini. We need an FTDI, Mini USB programing cable, a driver for the FTDI, and the Arduino Program Software.
LED Bezel arrives
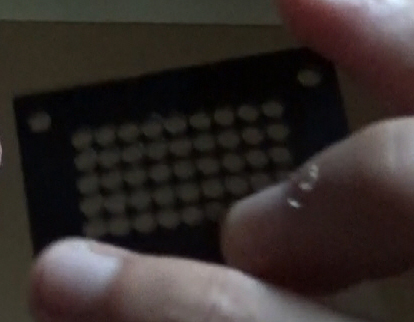
This is the FLD bezel used to center the lights and make sure they look right inside of R2. When making the lights, this goes over the LED before they are soldered to the PCB. This is important to ensure they look good.
Polishing the R2 300mm Dome
Watch Full Movie Online Streaming Online and Download
Polishing the dome, I used Brasso metal polish that I got at the Home Depot in the cleaning section. I applied this with a rag and used #0000 steel wool very lightly to do the polishing in sections so it comes to a nice shine and you can see a visible reflection.