
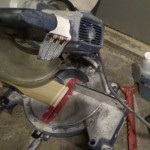
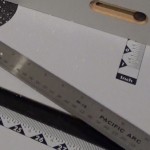
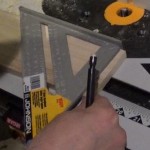
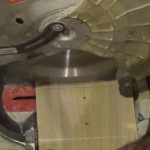
The Rear Logic Display Surround hosts the Rear Logic Display on the back of R2. This one was made similar to the way I made the Front Logic Display Surrounds. The difference is that this piece is rounded and needs to be cut and measured very carefully so everything comes out correctly. The materials used is a piece of poplar hobby wood and some double sided tape. I used a plunge router to cut the curve and a miter saw to cut the bevel and miter. To do all the measurements, I used my ruler and rafter square.
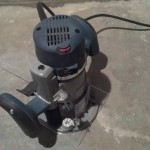
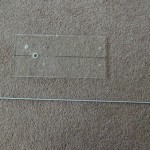
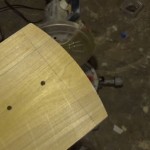
The first step I took was cutting the circular portion of the surround. I made a plastic circle cutting guide for my plunge router to cut the 9.125″ radius circle. I then made a hole in a piece of poplar down the center of the board 9.5″ from the top and secured the board to a table and cut the circle.
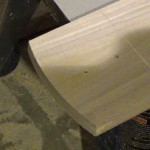
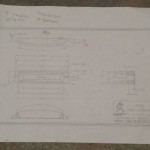
I then marked my board, from the top center of the circle going down, the total height of the piece. Another line was marked perpendicular to that line so I can cut that piece off the board. Once cut off the board, this piece will be used to make two halves of the surround.

The next post in this series will go over cutting this round section into two halves with proper dimensions.