Using Hot Glue to Hold the Radar Lens

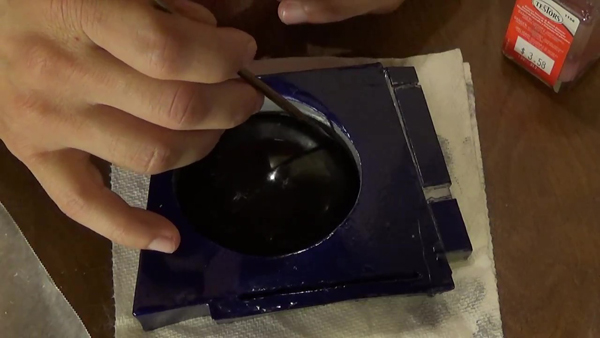
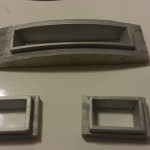
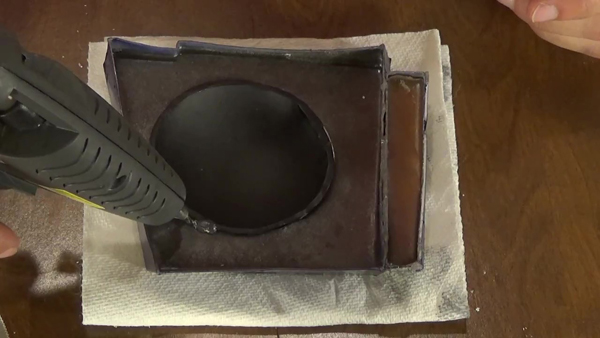
Installing the Radar Lens if fairly simple.  Using a hot glue gun, simply go around the edge of the lens, where it meets with the Radar Eye, with a bead of hot glue.  I filled the inside of my Radar Eye with resin to make it easier to attach the lens.

Start with applying a bead of hot glue to the lens and the back of the radar eye.

Glue radar lens to radar eye
Apply hot glue to hold lens.

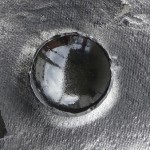
Once secure, and the glue has dried, paint it black to hide and parts that might be see through from the clear glue.

Paint dried glue black
Paint dried glue black.

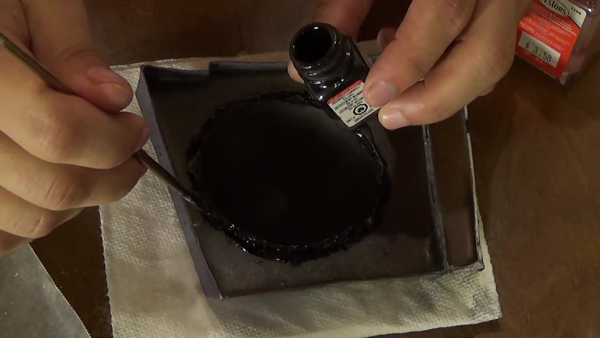
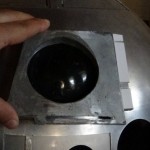
Do the same thing for the inside of the lens from the front of the Radar Eye.  Any mistake can always be repainted.  Take your time and do it right.  Even masking tape can help cover stuff prior to painting.

Paint Crack Black
Paint crack black.

Making a Radar Eye Lens


The Radar Eye lens is very simple to make. You will need a 4″ half sphere and black spray paint. It doesn’t get much simpler than this. Place the sphere and mark it where it meets with the inside you your Radar Eye. Cut that line and paint the inside of it black. Test the fit and see how it fits inside the Radar Eye while on the dome. You can secure it by using hot glue or JB Weld.

Painting Wood Logic Displays to Look Like Real Aluminum

Painted Logic Surround

R2’s Logic Display Surrounds are supposed to be made of metal. What are you supposed to do if yours are made of wood? The answer is simple. Take aluminum paint and fine grit sandpaper or a dremel, then paint, sand, and repeat this process until you see no grain in the wood. Since wood shows grain, the goal is to paint and sand once the paint is dry. The sanding is a light coat to attempt and sand off high spots in the grain of the wood. This process is constantly repeated over and over until the grain can no longer be seen or until you like the look of the “metal”.

Testor’s paint is the first thing I used and wet/dry sandpaper. Keep the sandpaper wet.