Ordering the PCBs ahead of time from OSH Park, the only thing I needed for these were the electronics components and the reflector cone. These were a little tricky to assemble but not to bad. I installed the .22uF capacitor in the tutorial to show you how it’s done, but I later took it out and added a 10k resistor piggy backing the 100k resistor for a fading effect using an Arduino sketch.Watch Full Movie Online Streaming Online and Download
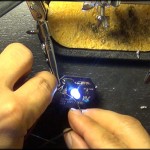
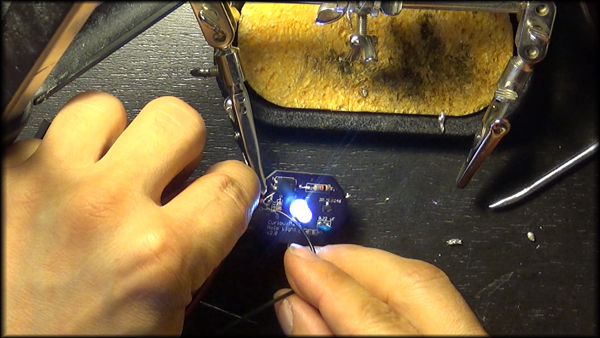
To start with, instructions for assembly can be found here. Once assembled, they just need to be tested out and put into your holoprojectors.
Just hook them up to a small 2v batter to test them out.