R2D2 Dome Hardware Scratch Build Mounting Brackets

Mounting all the hardware into the R2D2 dome is always a challenge. If making them yourself, here is one method. I used sheet metal with bending tools and a dremel.

Here is an example of the mounts I made to secure parts for the dome.  I cut strips of sheet metal, drilled a small hole on one end and made a slot in the other.  The sheet metal is than bent into an “L” shape with the hole being on the shorter side.  I made screw holes in the PSI’s and threaded a bolt through the back side.  These will eventually be mounted to captive studs in the dome.

PSI Mounts
PSI mounts

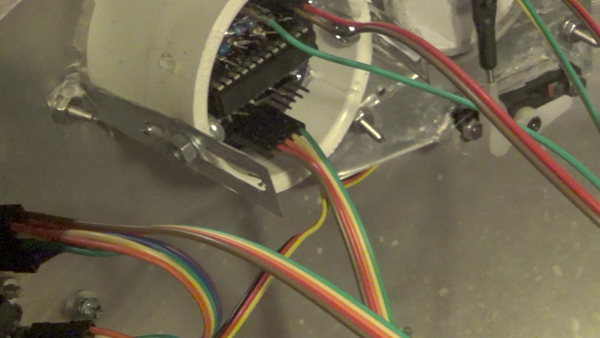
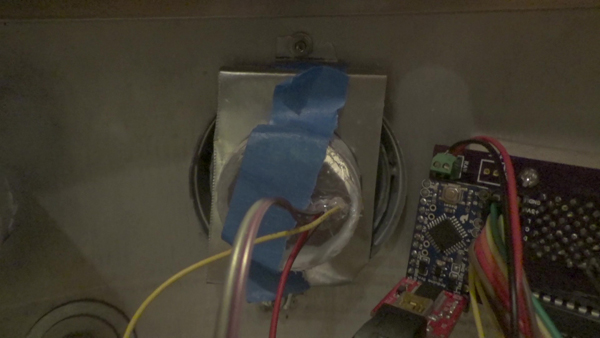
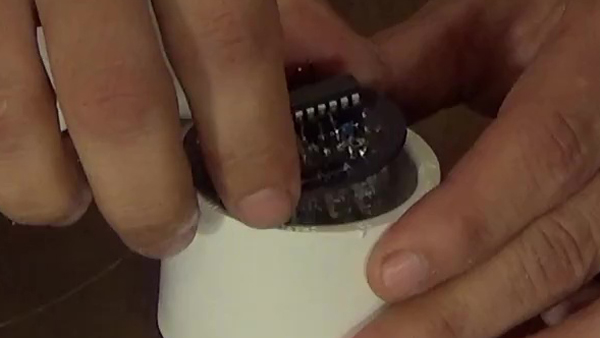
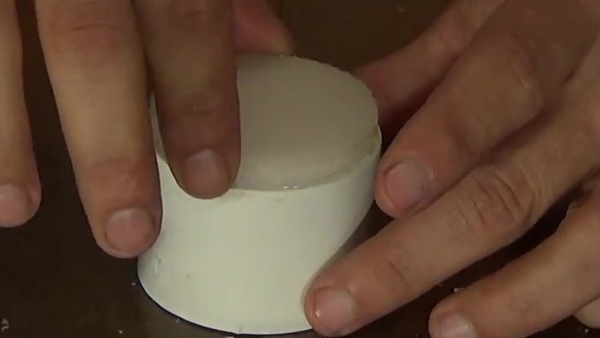
For my holoprojector, I cut a hole big enough to fit the PVC tube made for the Holoprojector. I measured carefully and bent the metal into a half rectangle with “L”‘s on the ends for mounting.

Static Holoprojector Mount
Static Holoprojector mount

Arduino Micro Controller for the Lights

Arduino

The Arduino can be used for many things when It comes to R2.  The lights is a good reason to use one, as it makes them flash and do all sorts of interesting things.  I have the Arduino Pro Mini and it only cost about $10.  This is extremely inexpensive for something that does so much for our little droid.

Arduino
Arduino and FTDI Breakout

You will see above is the Arduino Pro Mini and attached to that in red is the FTDI Break out, used for uploading a sketch to  the Arduino.  The sketch controls the lights and what they do.

The PSI Housing from PVC Coupler and Cutting Board

Cotton round in PSI

In order to make the PSI LEDS diffuse, we first need a housing to put them in.  The back PSI hole is larger than the front, so an 1.5 ID PVC coupler is used for both front and back. The size does not matter since the light will look the same regardless of the size of the coupler.

A bead of hot glue is first applied to the inside of a 1.5″ PVC Coupler.

Hot Glue in PVC Coupler
A bead of hot glue is applied to the inside of the 1.5″ ID PVC coupler.

The PSI Electronics is than dropped inside of the PVC and held in by the hot glue. Be careful when you place this in. The LEDs are placed downwards so make sure they do not get damaged by the inner edge of the coupling.

PSI into Coupler
The PSI Electronic LED is dropped into the coupler.

Two cotton rounds are placed inside of this to diffuse the light from the LEDs so they appear as one color and not separate bulbs.

Cotton round in PSI
Two cotton rounds placed inside the PSI Housing to diffuse the light.

Another bead of hot glue is placed on the top of the PVC housing where the cotton rounds sit. Place the cutting board circle on the glue and hold until glue sets.

Cutting Board on Coupler
Putting the Cutting Board circle onto the Coupler.

Hook the PSI up to the electronics to see how it looks!