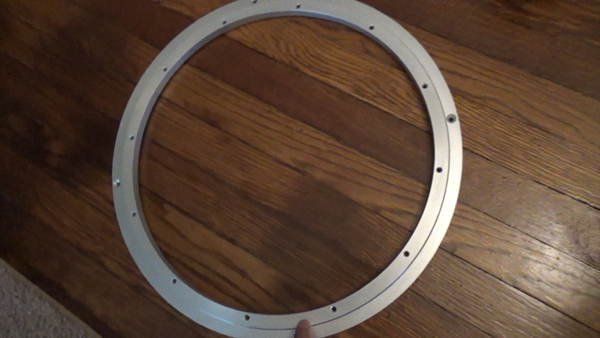
Here is the box opening of the Lazy Susan Bearing. You can order direct from Rockler, or get one off of the Astromech.net club forum. The one off of the forum is a Rockler with the holes pre-drilled in the factory to meet club design to attach to the base of any frame.
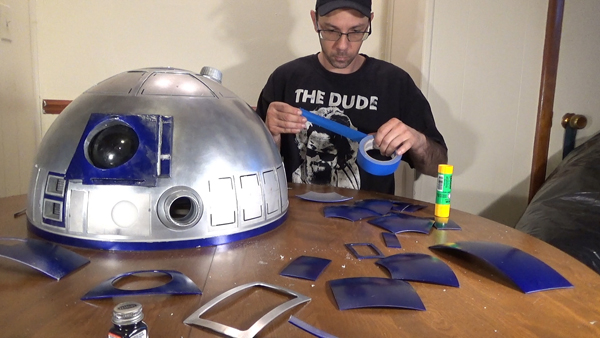
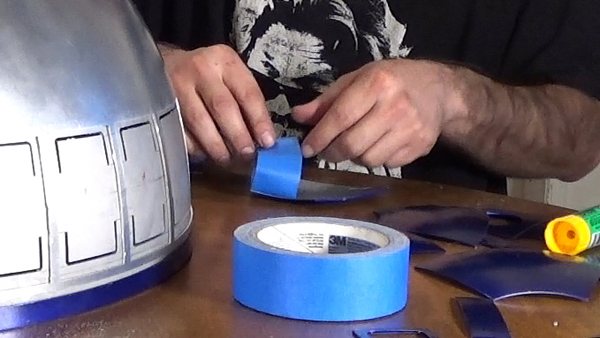
The method to hold on the dome panels is often a topic of debate. JB Weld, Silicone, Tape and whatever else you could think of. After looking at all the options, the easiest for me seemed to be using painters tape rolled over, but with glue stick on the non stick side so it stayed in a compressed loop.
Rip the tape in a strip twice as long as the panel.
Tear a strip of blue tape.
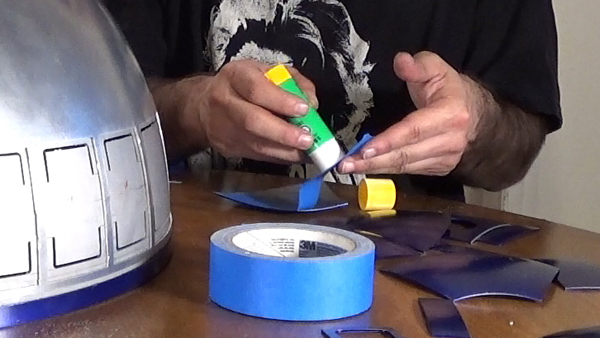
Attach half to the panel and put glue on the non sticky side.
Rub glue stick on the “non stick” side of the tape.
Fold that over and create a loop with the tape and press it down. Cover the entire panel with the tape.
Fold the glued tape in a loop.
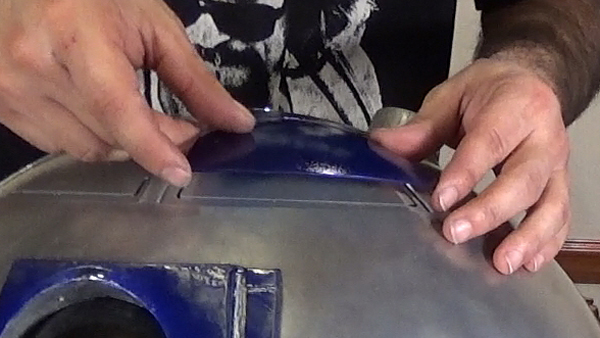
Center the panel and press it firmly into place, making sure it is secure.
Center and attach panel.
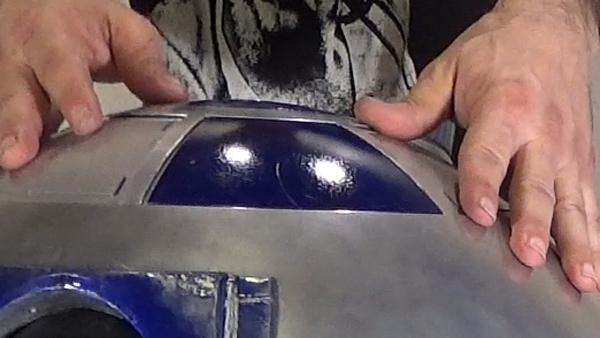
Repeat this step for all the panels until they are completely attached. The glue will dry and hold the loop together.
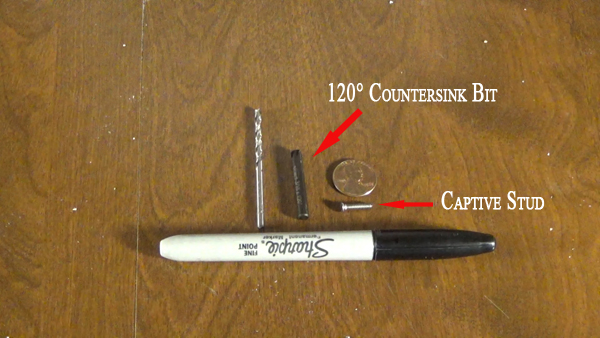
The majority of builders use Captive Push In Studs to help hold electronics in place on the dome. Although they are supposed to be mechanically pushed into the aluminum, most do not have this capability.
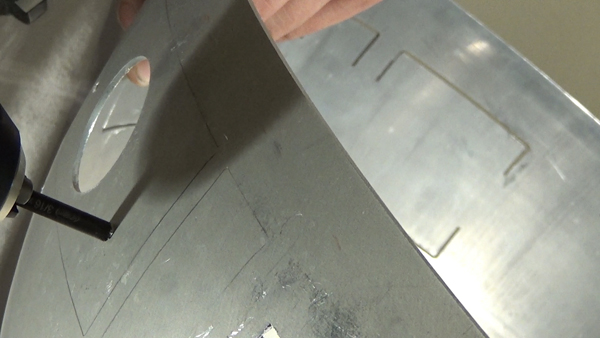
The tools used are a sharpie, drill and small bit according to the captive stud specs, and a countersink bit.
Tools need for captive studs
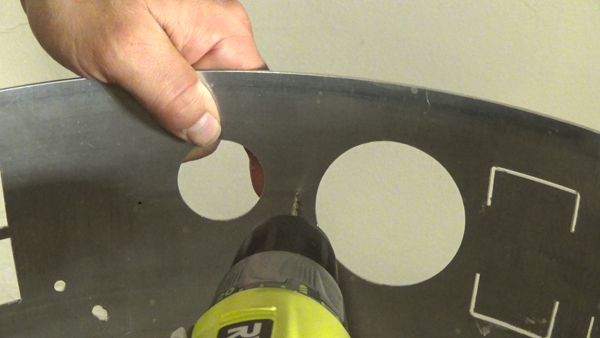
First, the spots must be marked for the studs and than a small hole drilled. I did mine from the inside of the dome.
Drilling the hole for a stud
After the small hole is drilled, the 120° 3/8 drill bit is used to countersink the dome from the outside.
Countersink used for captive studs
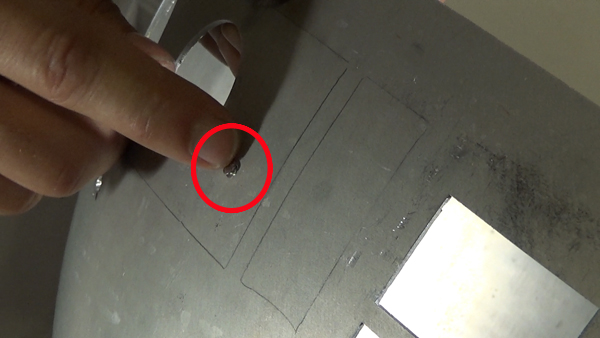
Next, the captive stud is pressed in. It sits just above the metal and should not be flush. The goal is to tighten the stud until the barbs on the backside grip and twist into the dome.
Captive stud before pulling tight.
Once, in place, use a washer and nut on the backside to torque the stud into place. You will know when the stud is seated properly when it does not move. It would have to be hit with a hammer to get it out. I installed the PSI’s and Holoprojectors with my DIY mounts.
Tighten nut for captive stud
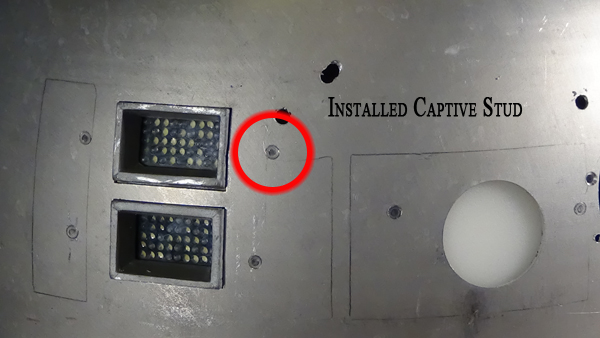
Here are the captive studs intalled from the from to hold the Logics and PSIs in place.
Installed stud on the front of the dome
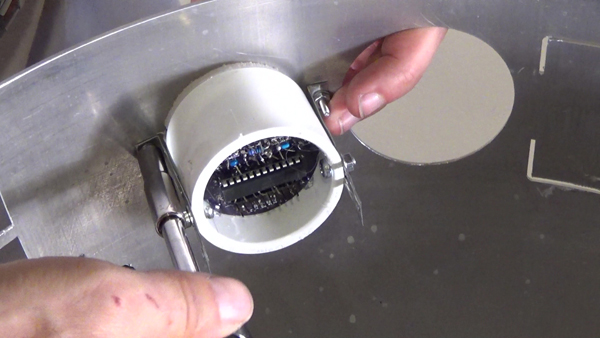
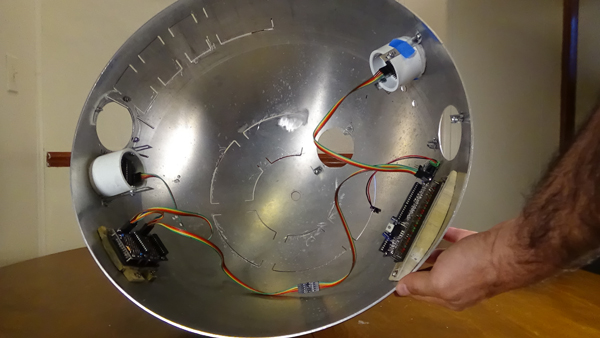
This is what it looks like from the inside.
Installed Logic Displays and PSIs from inside the dome.