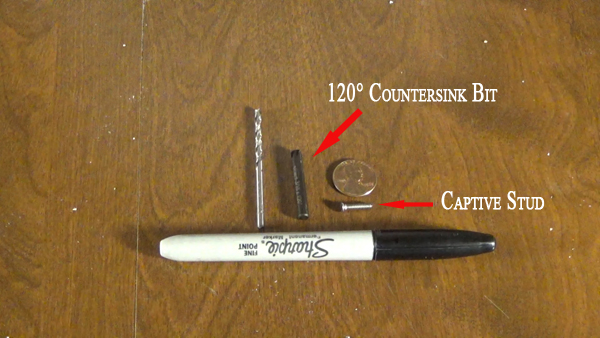
The majority of builders use Captive Push In Studs to help hold electronics in place on the dome. Although they are supposed to be mechanically pushed into the aluminum, most do not have this capability.
The tools used are a sharpie, drill and small bit according to the captive stud specs, and a countersink bit.
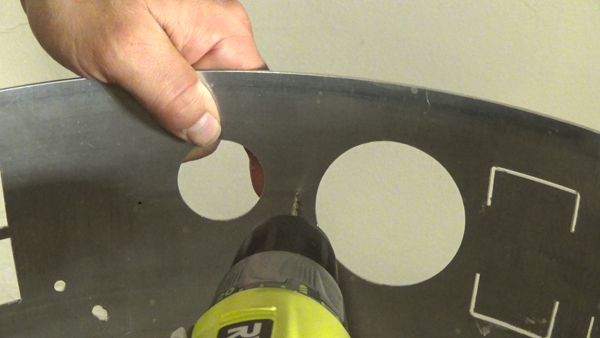
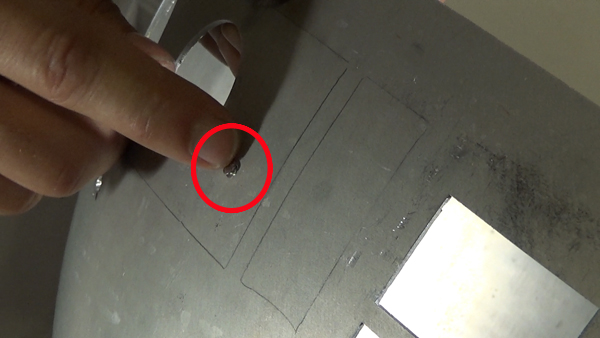
First, the spots must be marked for the studs and than a small hole drilled. I did mine from the inside of the dome.
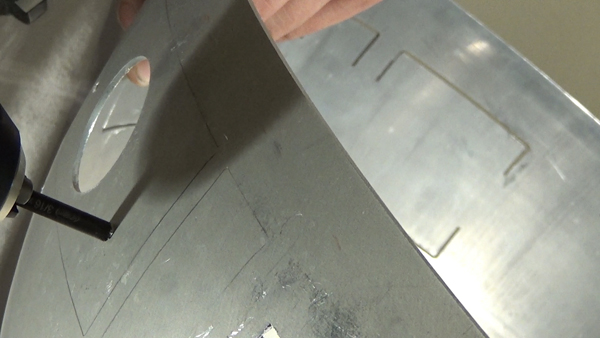
After the small hole is drilled, the 120° 3/8 drill bit is used to countersink the dome from the outside.
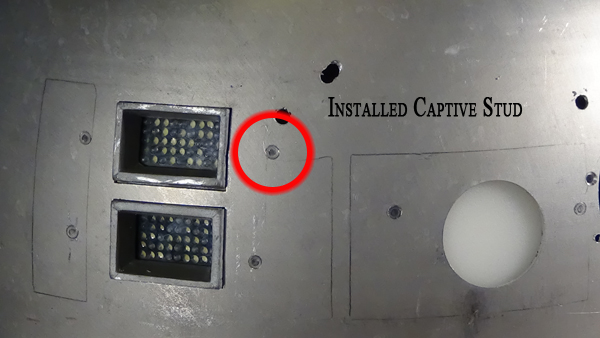
Next, the captive stud is pressed in. It sits just above the metal and should not be flush. The goal is to tighten the stud until the barbs on the backside grip and twist into the dome.
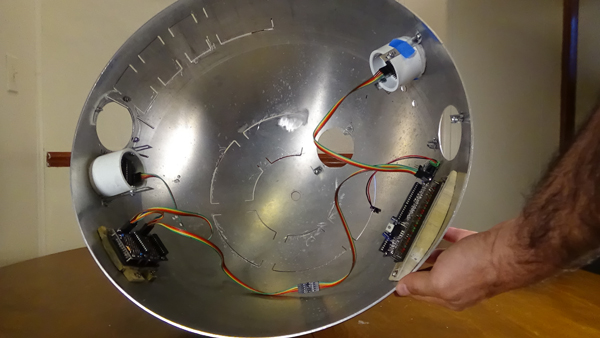
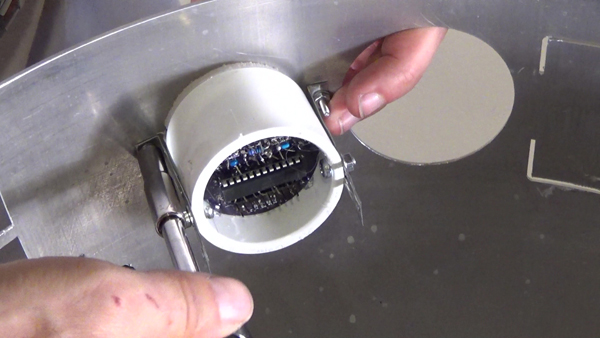
Once, in place, use a washer and nut on the backside to torque the stud into place. You will know when the stud is seated properly when it does not move. It would have to be hit with a hammer to get it out. I installed the PSI’s and Holoprojectors with my DIY mounts.
Here are the captive studs intalled from the from to hold the Logics and PSIs in place.
This is what it looks like from the inside.