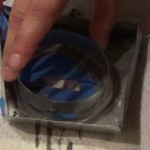
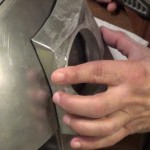
After the Radar Eye fits with the dome, side panel is bonded together and put onto the Radar Eye and allowed to dry. Tape the side of the Radar Eye and the Side Panel so you don’t get JB Weld on the parts.Watch Full Movie Online Streaming Online and Download
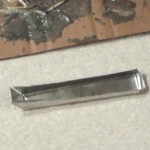
Complete side panel of the Radar Eye
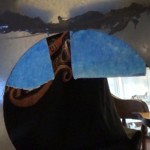
Tape on Side Panel of Radar Eye
Side Panel of Radar Eye attached with JB Weld.
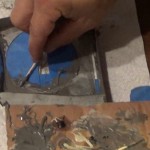
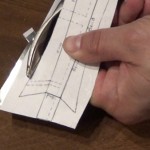
Now that the Side Panel has dried, peel the tape off and attach the side detail made of .030 styrene, with plastic cement and trim off the excess once it dries. The dried cement can also be applied to the seams and trimmed down to make it look like one hole piece.
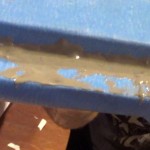
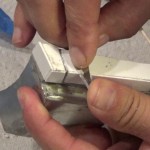
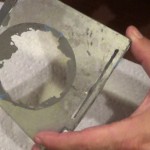
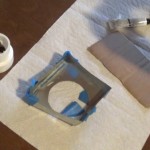
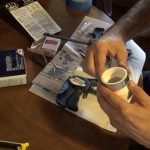
In order to get the cylinder inside the circle, it needs to be JB Welded on the inside and outside edges of the Radar Eye. I applied tape to the outside of the circle to provide the JB Weld a good backing for filling in the holes and grooves between the cylinder and circle. Once that is all filled in, it dries for 24 hours. Once dry the tape is peeled off and the JB Weld is sanded down to make the eye appear seamless.
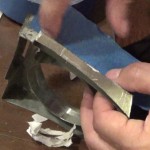
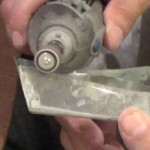
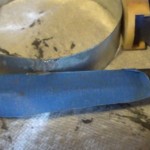
After the Radar Eye is cut, it needs to be bent into shape and the seams need to be bonded together with JB Weld, The center of the eye piece must be rolled and shaped into a circle. This is also where I cut out the side portion of the Radar Eye.
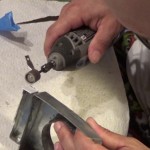
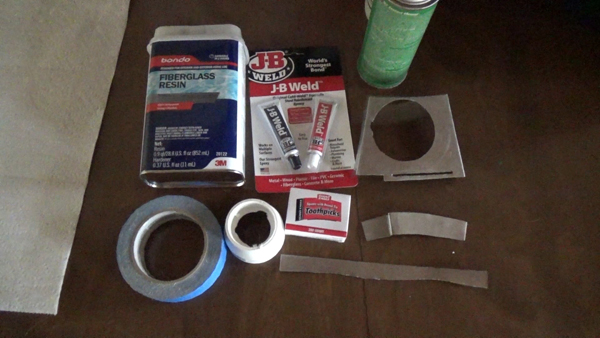
The materials I used are JB Weld, a PVC coupling to shape the inside cylinder, toothpicks, and blue tape.
Materials used for bonding seams in Radar Eye
Once the Radar Eye is bent into shape, it must be held together with tape and clamps so it does not come apart. The tape was used on the corner seams and for the bottom piece to hold them in place. The JB Weld was mixed per its directions and placed on all the seams. I allowed it to dry for at least 24 hours for maximum strength. This is only the initial bond since you may have to break some of the bonds apart to get a better hold in certain areas.
Blue painters tape holding the seams together.
Seams in the scratch Radar Eye bonded together with JB Weld.
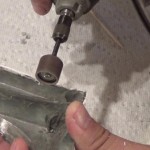
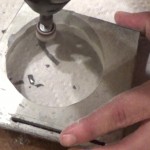
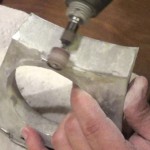
Next, the center piece is rolled around a PVC coupling to get the round shape. The eye circle is supposed to be 3″ in diameter, so I used a smaller circle since most metal likes its original shape. I rolled the metal around the PVC on the small section and it unrolled almost perfectly for the shape I needed. I put some tape on the shaft of the C-clamp so the JB Weld won’t stick by accident.