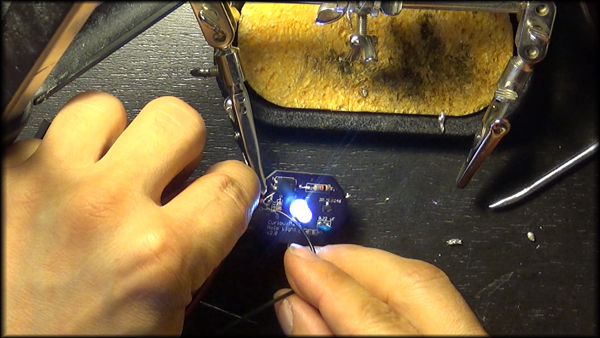
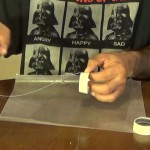
Most people use a mouthwash cap for the Holoprojector cone and so did I. With a little cutting, filling, and gluing, I was accurately able to reproduce a cone that looks just like the one on R2-D2. It took a bit of work and patience, but I am very happy with the end result.
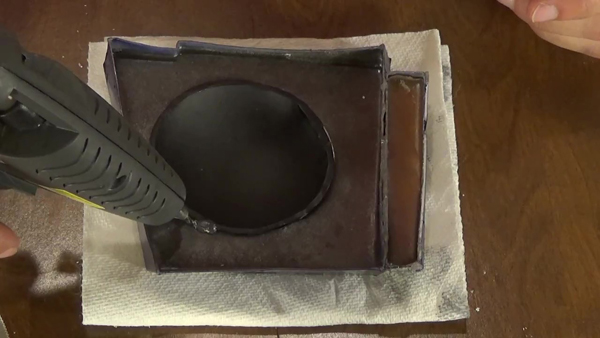
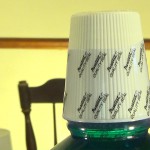
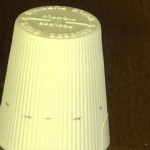
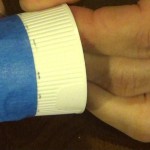
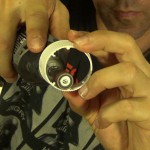
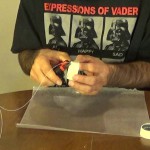
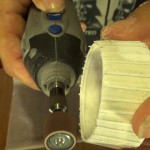
To start off with, I took a cap from a mouthwash bottle that was big enough to be the same size I needed for the cone. I made some markings on the cap so I could get an accurate cut, and used a hacksaw or dremel, just to try different methods, and cut the cap. After the cap is cut, the inside ridges are cut or sanded off.
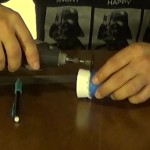
The strips on the inside have to be added. Using a .030 x .100 styrene strip, we apply a bead of glue 5/16″ from the bottom up, on the inside of the cone and secure the strip. Apply the .010 x .030 strip to the top about 1/32 from the top.

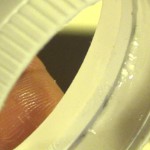
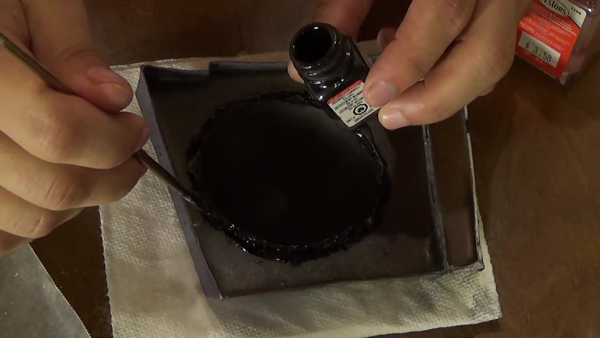
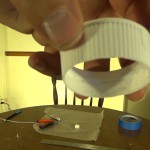
Fill this space in between the two strips with bondo or putty, until it is smooth all the way around.
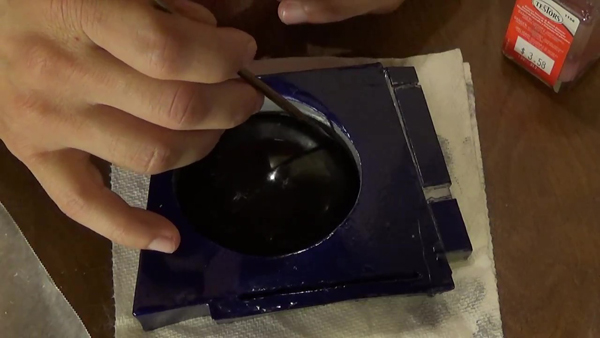
Now it’s time for several layers of putty and wet sanding until this cone has a smooth surface on the outside. Apply the putty and let it dry for an hour. Wet sand that, and let it dry thoroughly. Than apply another coat if necessary and sand.

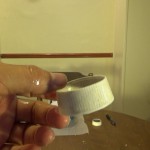
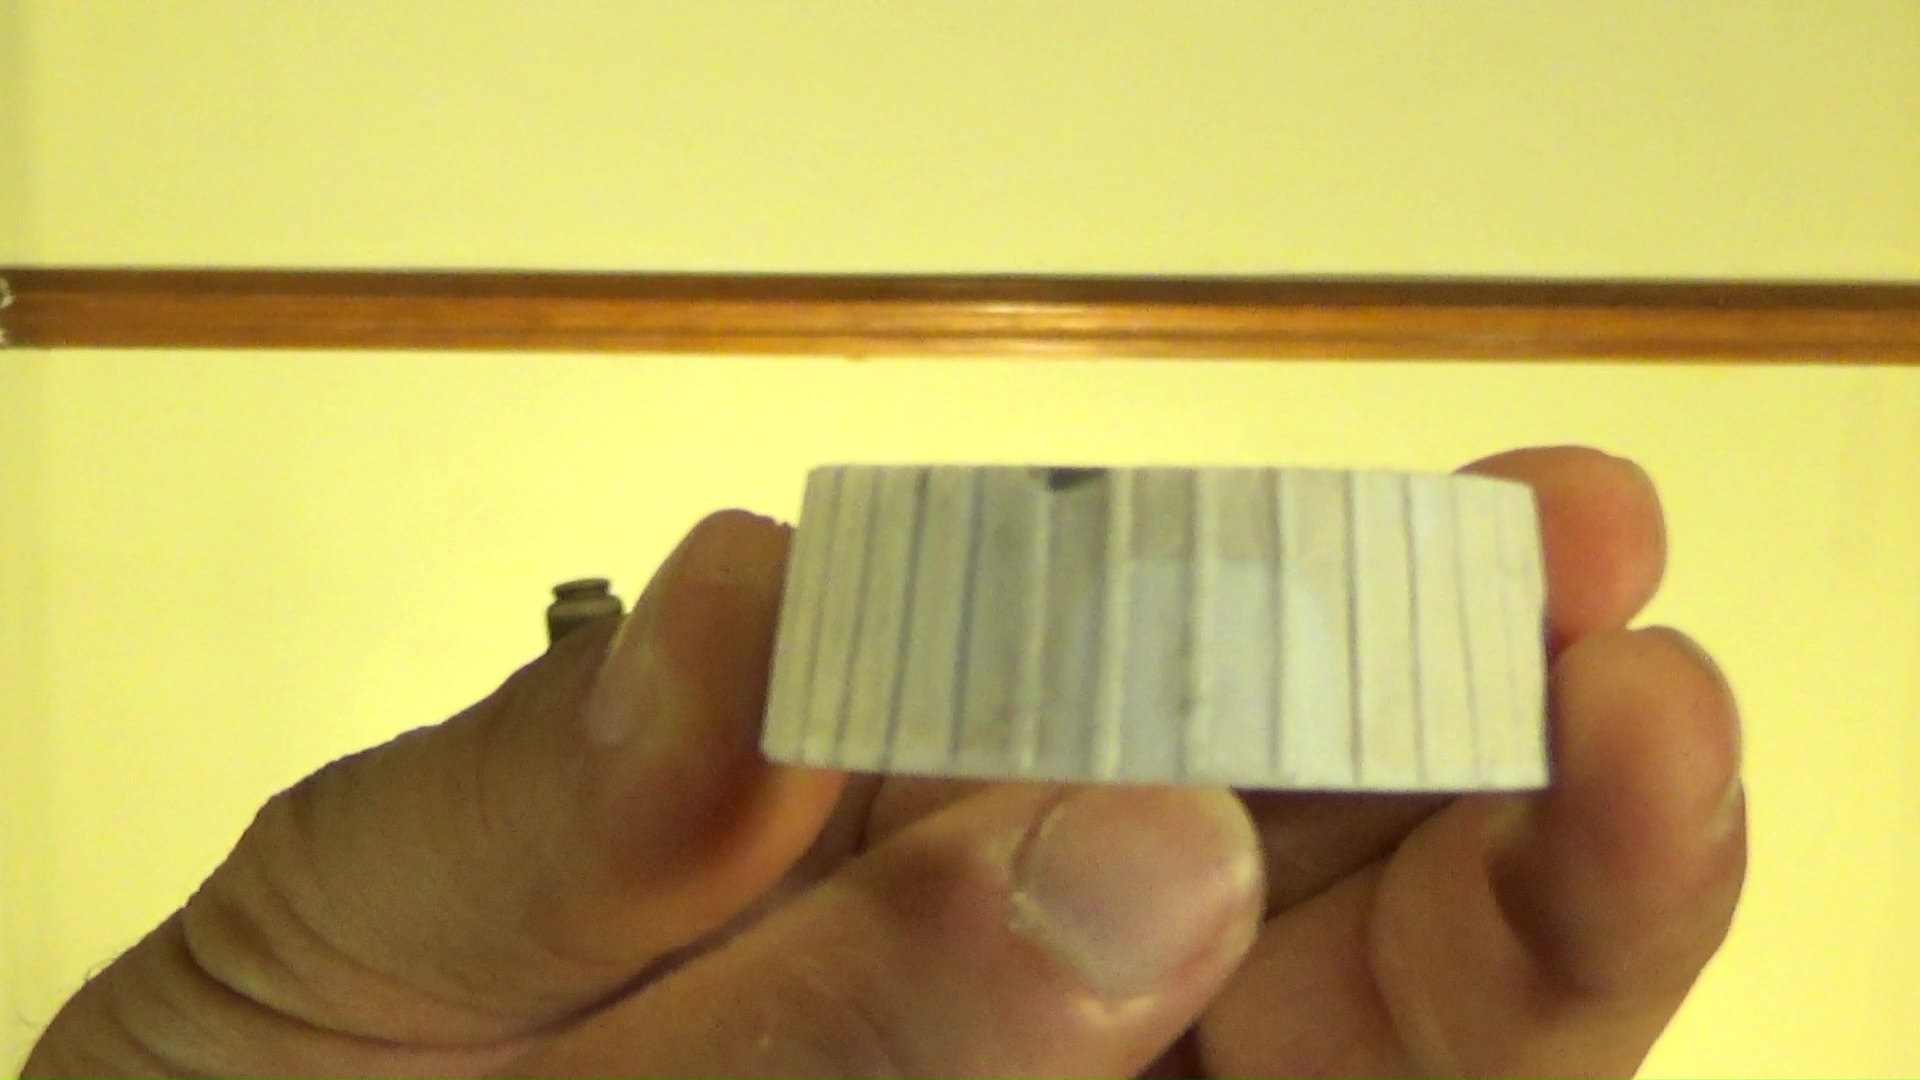
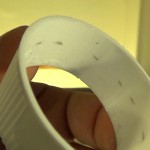
Once that is all smoothed out, we add .010 x .030 strips of styrene all the way around until there are 36 of them on the cone. This can be done without doing to much measuring by working in quarter quadrants at a time. Put four strips on in a north/south-east/west position. than do that again in the middle of each of those strips. Repeat this process everytime, going in the middle until there are 36.

This completes the cone scratch build of the cone!