
Logic Display Surrounds are made a few different ways.
- Aluminum
- Resin
- DIY
I chose the DIY path since I felt it would give me the greatest benefit and cost the least since I already have tools to do so. All I needed were the plans, tools, materials, and a way of constructing them. I had 3 out of the 4, so I knew this would be a challenge.
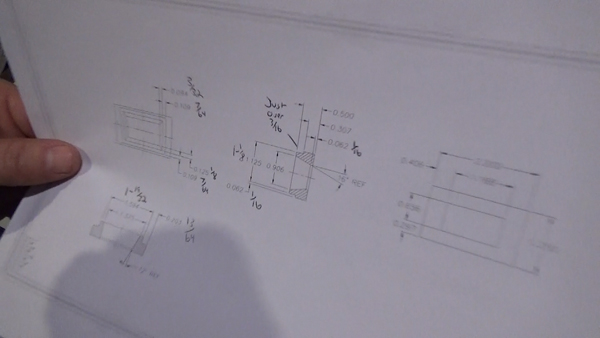
The plans were found on the R2-D2 BUILDERS CLUB Yahoo group. Since these plans were in decimal format, I had to convert them into the American Standard of Feet and Inches. I used a calculator to come up with most of the fractions and a few I knew were a hair off from being in between two sets of fractions such as the distance between a 1/32″ and 1/64″. Basically meet those two in the middle and that gives you the number.
The tools need to complete this project are as follows.
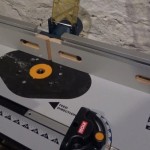
- Router w/ table
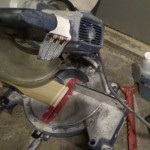
- Miter Saw
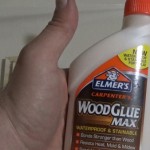
- Wood Glue
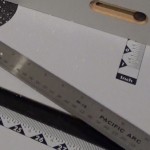
- Ruler with 1/32 measurements
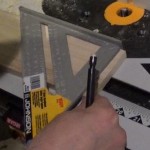
- Rafter Square
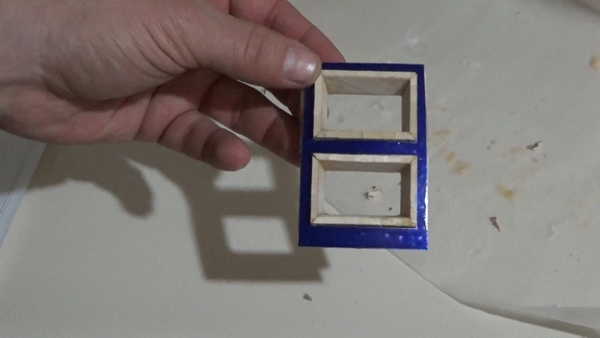
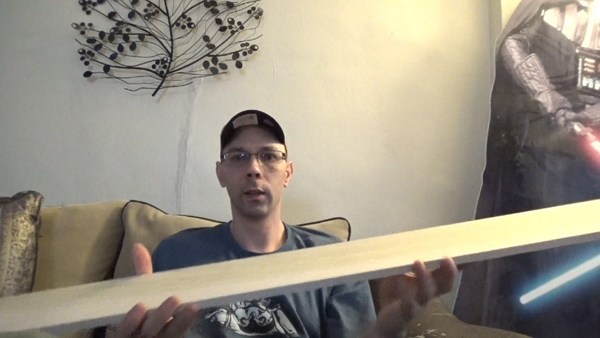
Now I needed some construction material, so it was off to the local DIY hardware store to buy a piece of Poplar hobby wood for around $8. The piece I wanted was 1/2″ thick and 4″ wide, just the right height for the part I had to build. The good thing is that this will give you enough wood in case you mess up. I actually bought 3 of these in first trying to figure out the best way to construct these surrounds since I didn’t have any instructions and I was trying to figure out the best method to cut small pieces of wood.
For the next part in this series, we will be marking our wood board and CUTTING OUT THE PARTS.