Craft Spheres Made Into Holoprojectors Part I.

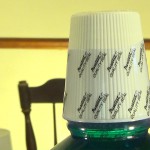
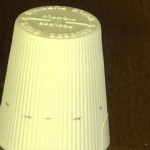
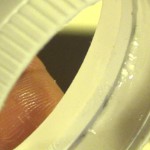
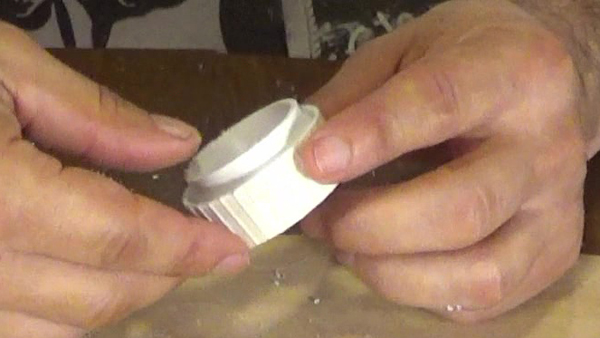
To get the look of Holoprojectors, a mouthwash cap was first turned into a Holoprojector cone.  The next step is to get the spheres so you have a ball, inside of a ball. This is all achieved by the use of crafts spheres that can be made into holiday ornaments.  Any craft store should sell these in one form or another, a total of 6 spheres is needed.  3 x 3-3/4″ and 3 x 2-3/8″ plus extras for when you mess up, and you will mess up!

Parts:

  1. 3 x 3-3/4″ sphere
  2. 3 x 2/3/8″ sphere
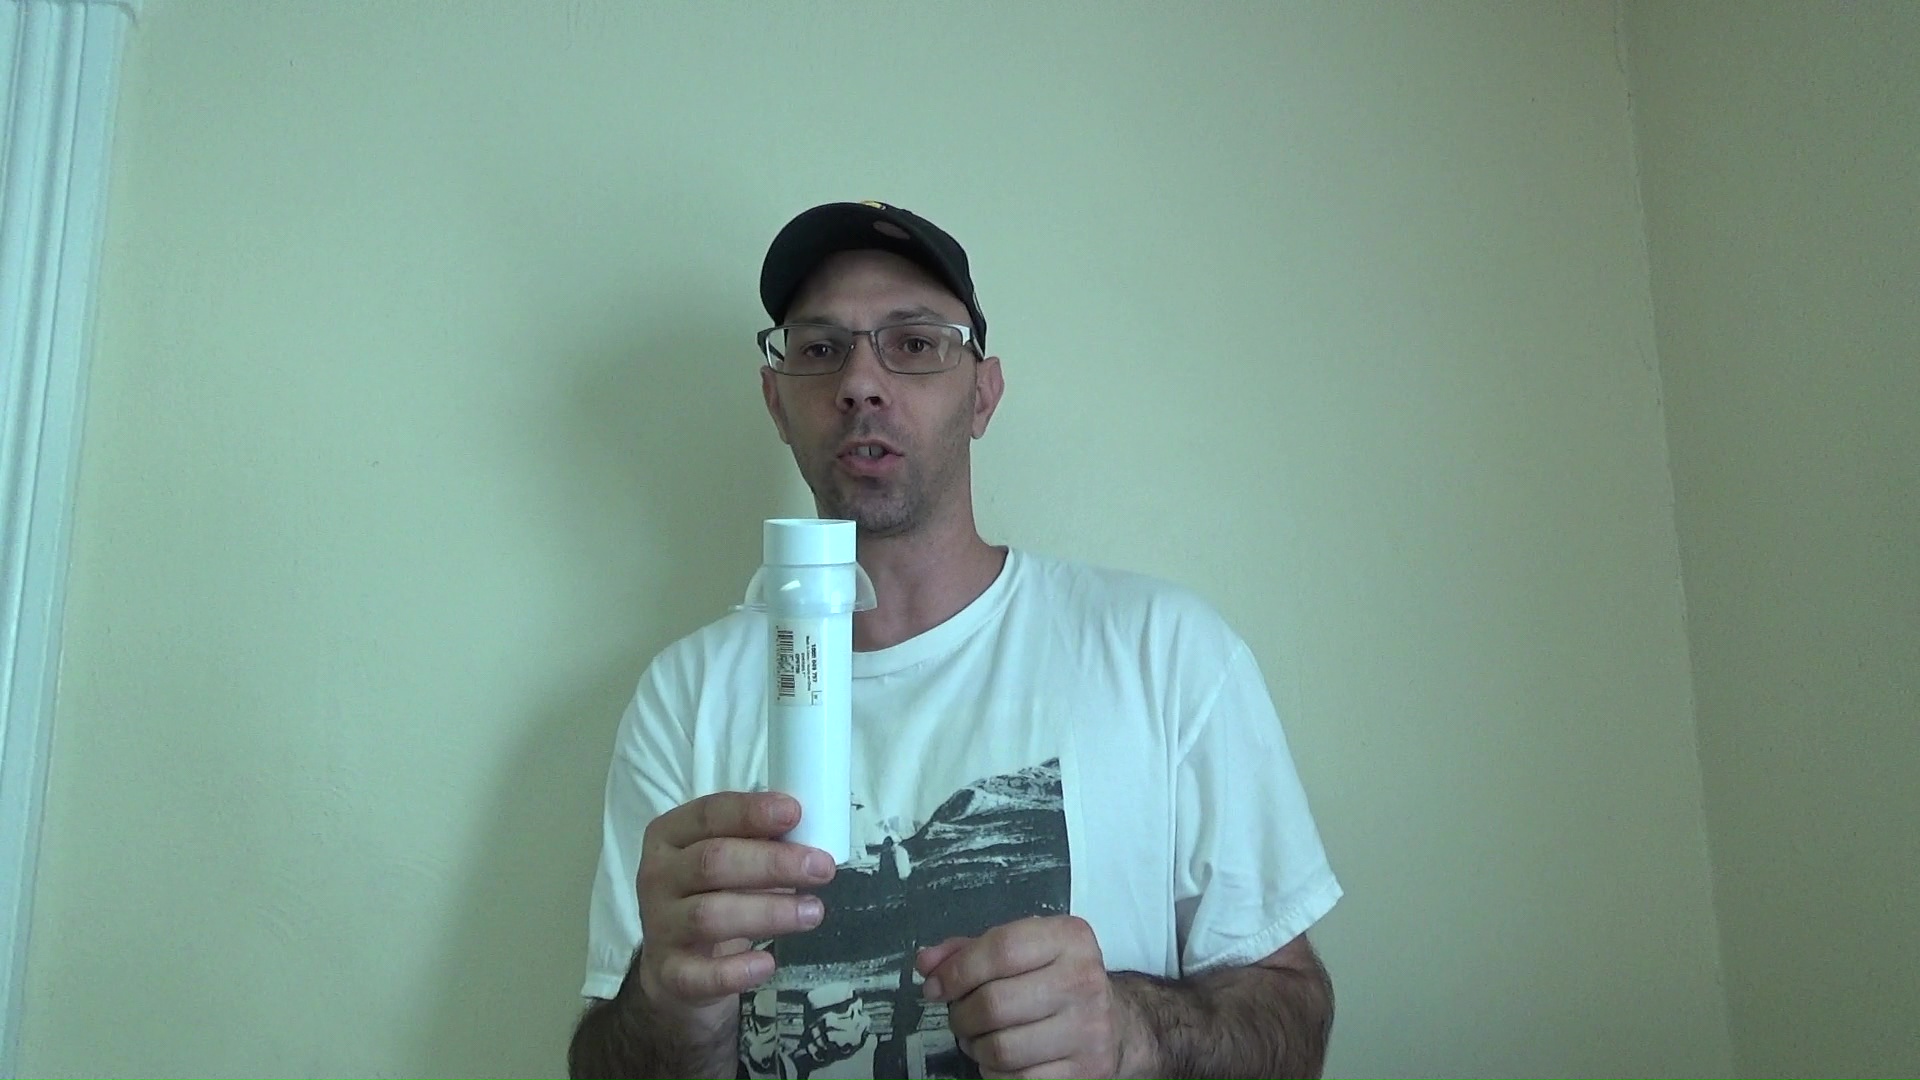
  3. 3 x 1-1/2″ PVC coupler that has a 1-5/8 dia on one end.

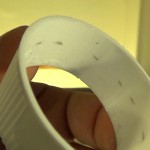
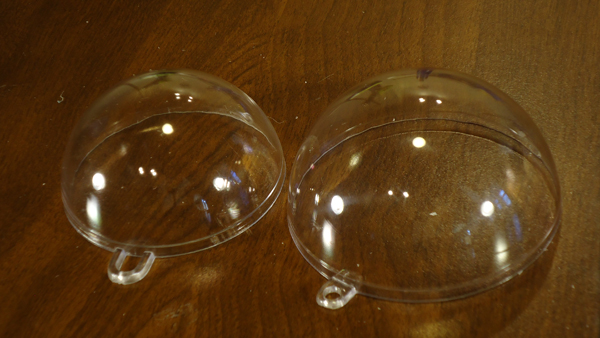
Below is an example of the type of craft spheres needed to make the Cowel and Ball joint.  Most hobby craft stores will have this type, and is usually located by the holiday ornaments section.

Craft spheres
Craft spheres

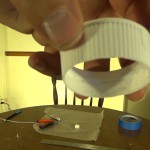
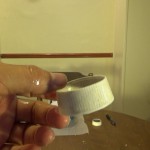
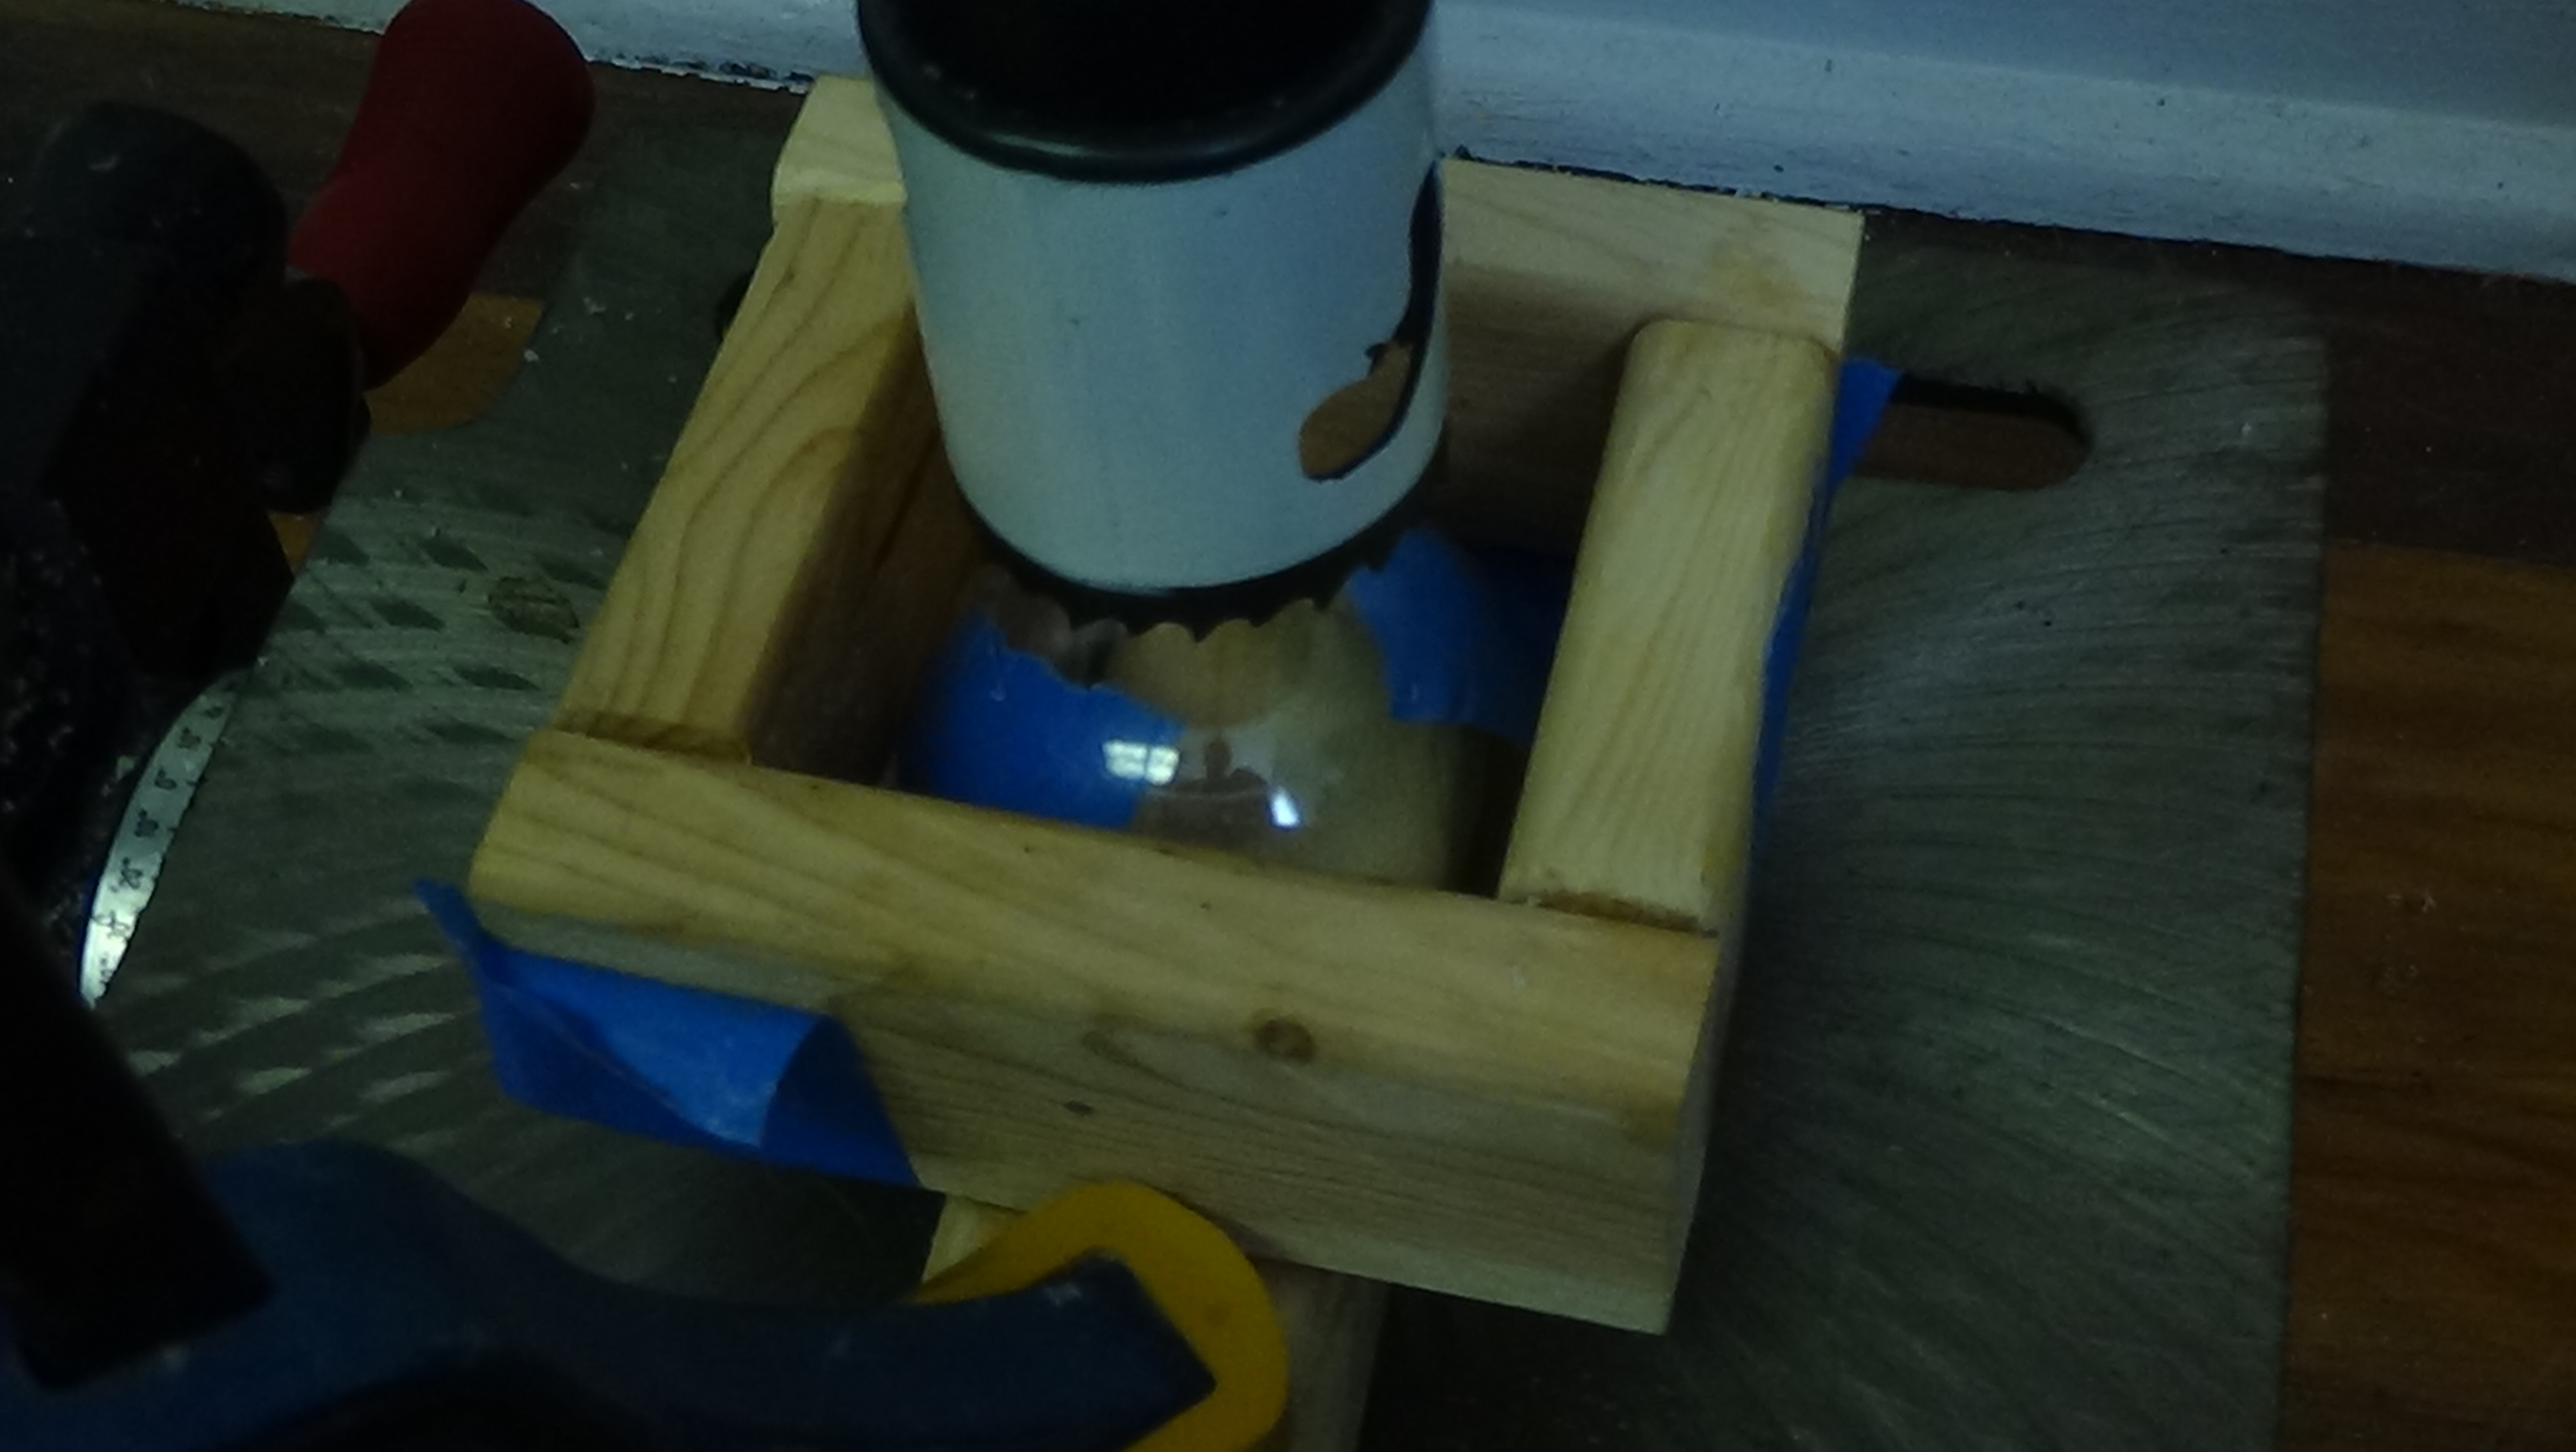
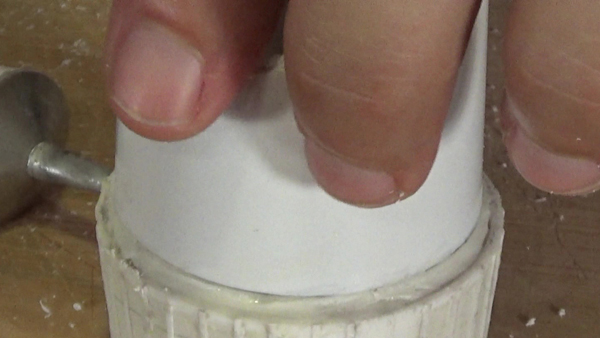
The next step is to cut holes in each of the spheres according to the dimensions on the blue prints for the Holoprojectors which are found on the Astromech.net forum.  Lets start with the Ball section of the Holo, using the 2-3/8″ sphere.  We will drill a 1-5/8″ hole through the top.  I used a self made base to secure the sphere from moving.

Cutting ball half.
Hole saw used to cut ball half.

I then used sandpaper around the beveled portion of the pvc pipe to sand the hole very carefully until I could get a snug fit around the PVC.  Sand, and than test fit accordingly.  Take into account the thickness of the sandpaper so you don’t over enlarge the hole.

Sand for fit.
Sand sphere for snug fit.
Test fit sphere
Test fit sphere on pvc

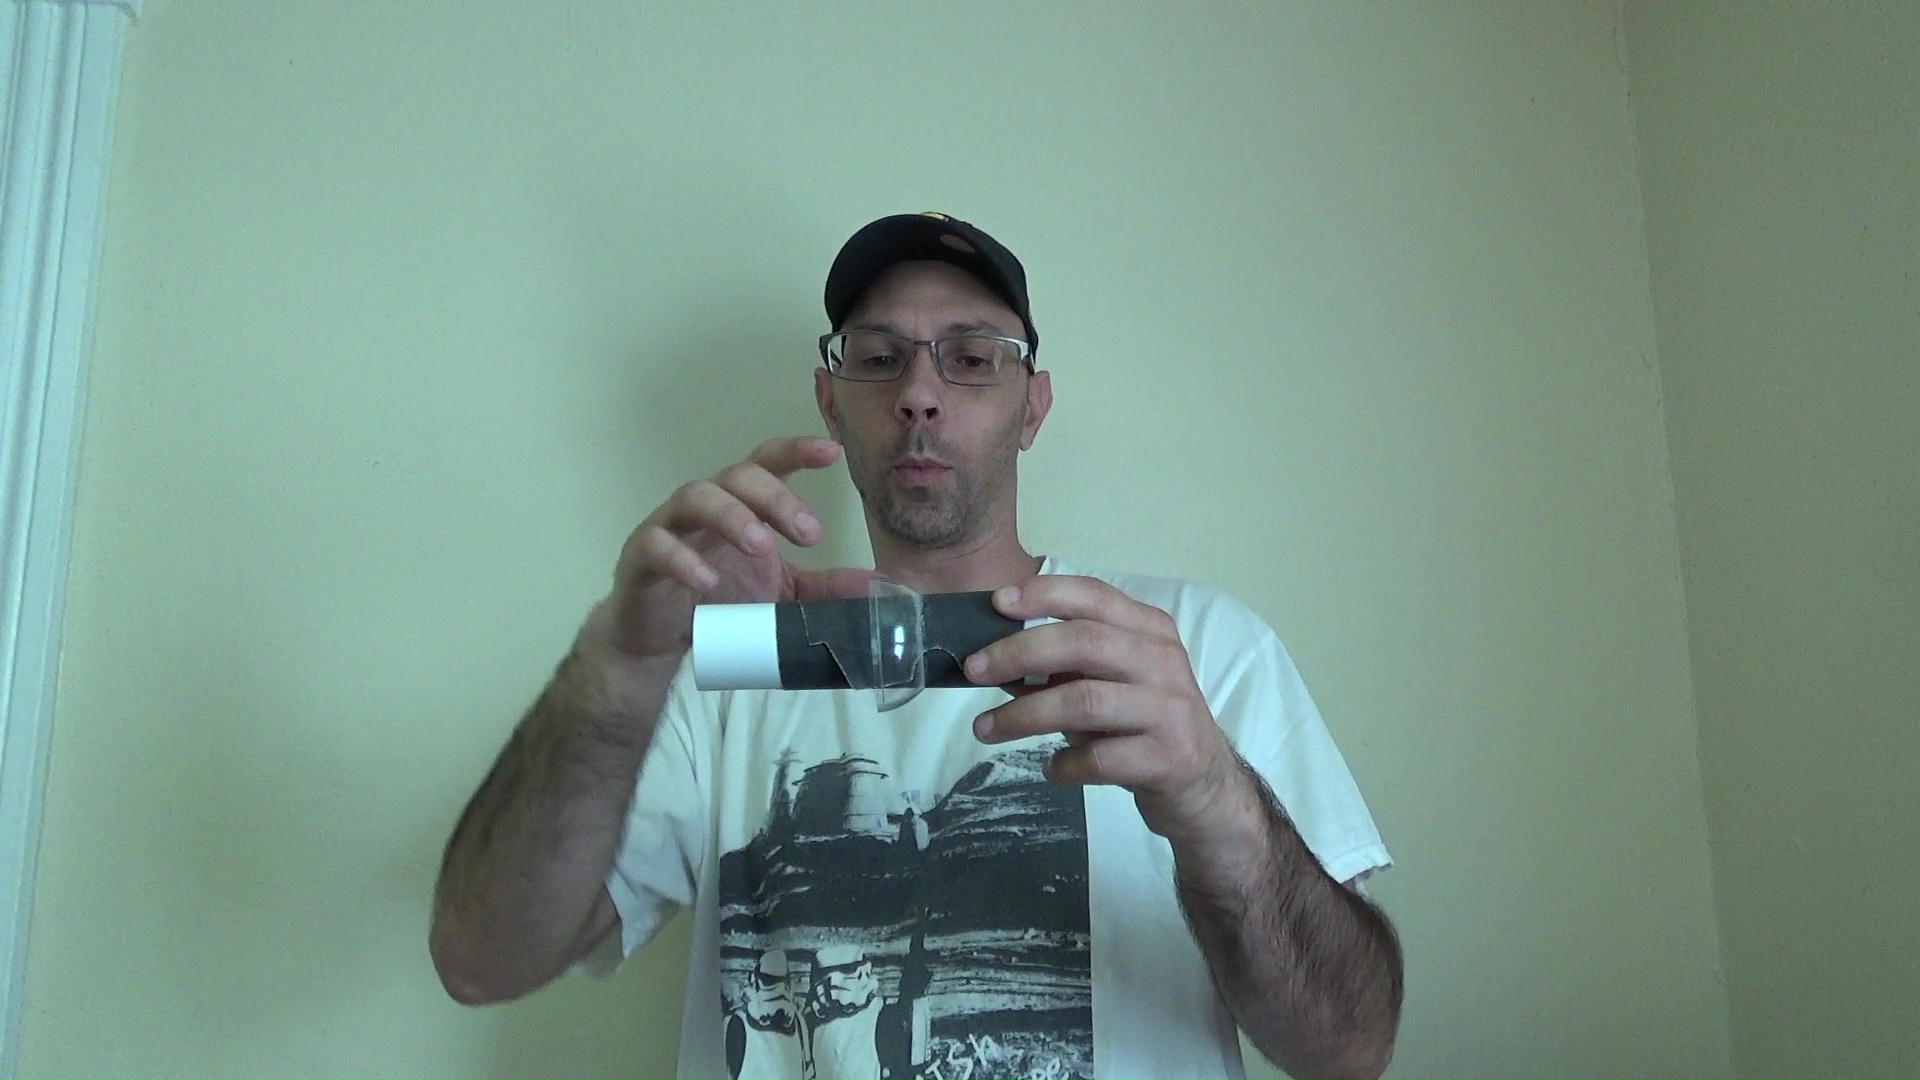
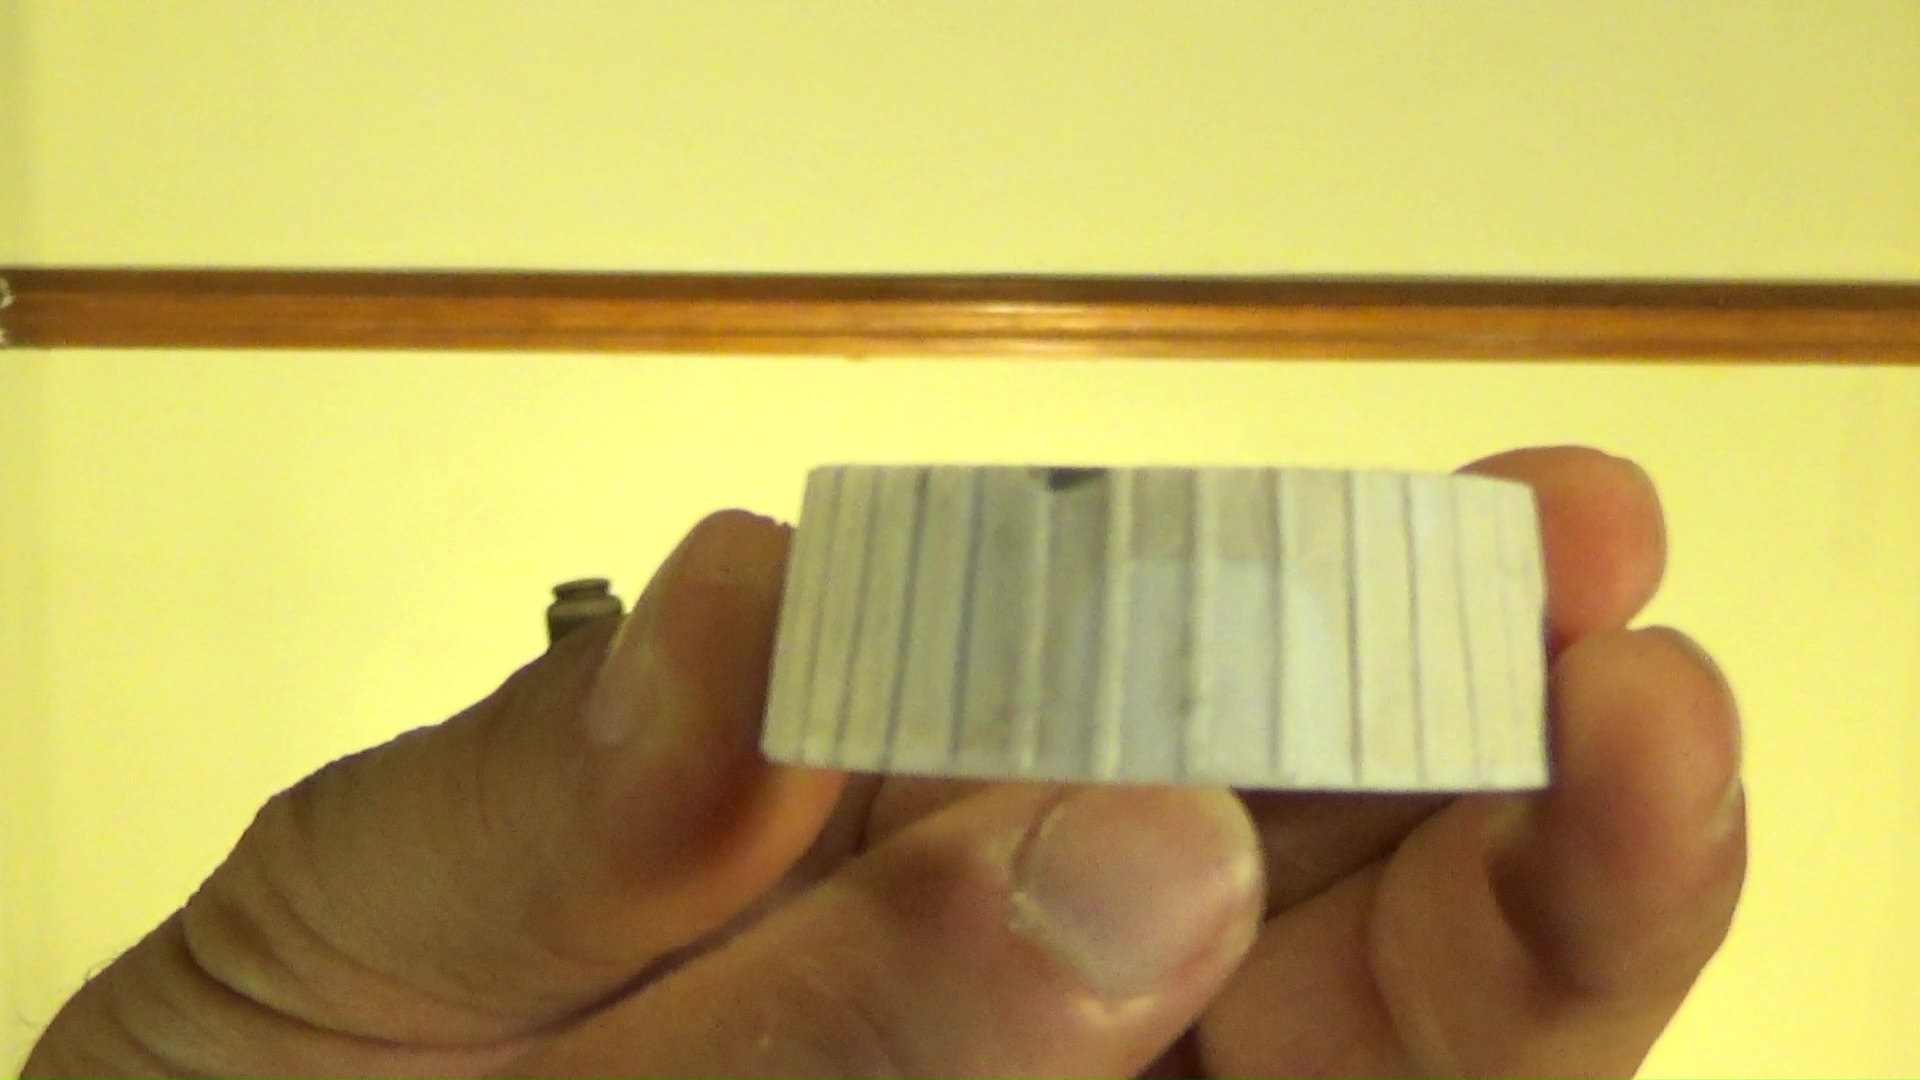
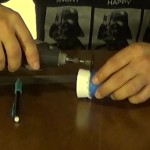
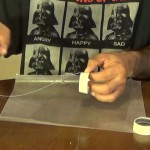
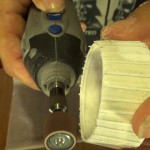
The next step is to cut the PVC into three parts. The top part, the bevel, and the base.  Each part will be used to hold the projector together and house the electronics.

Cut off the beveled portion below the end of the bevel by 1/32″.  Cut the 1-5/8″ OD section off the bevel.  Sand both ends smooth.

Cut PVC
Two cut pieces of PVC.
Bevel In PVC
Bevel inserted into cut PVC.

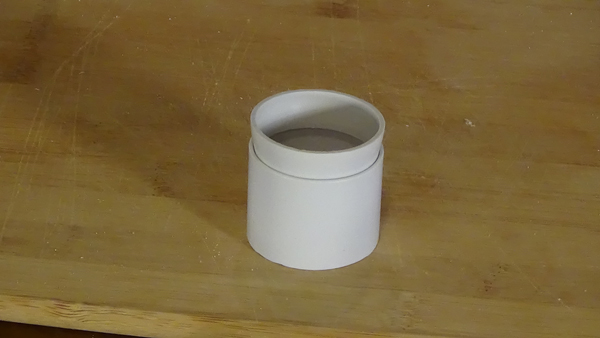
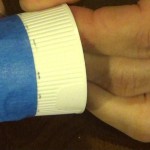
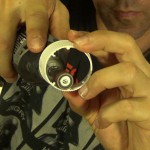
I glued the large end of the beveled piece into the cone I made from the mouth wash cap, securing it to the flat part made from the styrene strip from the previous post.  After this, I glued the small end of the beveled piece into the large section of the PVC and placed a bead of putty around the edge.

Bevel glued to cone.
Large bevel portion glued to cone.
Putty, PVC, cone
Putty surrounding PVC and cone.

This portion can than be inserted into the  ball half and complete the first part of the ball and cowel.

Continued in the next post.

Mouthwash Cap is a Holoprojector Cone!

Complete Cone

Most people use a mouthwash cap for the Holoprojector cone and so did I.  With a little cutting, filling, and gluing,  I was accurately able to reproduce a cone that looks just like the one on R2-D2.  It took a bit of work and patience, but I am very happy with the end result.

To start off with,  I took a cap from a mouthwash bottle  that was big enough to be the same size I needed for the cone.   I made some markings on the cap so I could get an accurate cut, and used a hacksaw or dremel, just to try different methods, and cut the cap.  After the cap is cut, the inside  ridges are cut or sanded off.

The strips on the inside have to be added.  Using a .030 x .100 styrene strip, we apply a bead of glue 5/16″ from the bottom up, on the inside of the cone and secure the strip.  Apply the .010 x .030 strip to the top about 1/32 from the top.

Fill this space in between the two strips with bondo or putty, until it is smooth all the way around.

Now it’s time for several layers of putty and wet sanding until this cone has a smooth surface on the outside.  Apply the putty and let it dry for an hour.  Wet sand that, and let it dry thoroughly.  Than apply another coat if necessary and sand.

Once that is all smoothed out, we add .010 x .030 strips of styrene all the way around until there are 36 of them on the cone. This can be done without doing to much measuring by working in quarter quadrants at a time.  Put four strips on in a north/south-east/west position.  than do that again in the middle of each of those strips. Repeat this process everytime, going in the middle until there are 36.

This completes the cone scratch build of the cone!

Complete Cone
Complete cone