The PSI Housing from PVC Coupler and Cutting Board

Cotton round in PSI

In order to make the PSI LEDS diffuse, we first need a housing to put them in.  The back PSI hole is larger than the front, so an 1.5 ID PVC coupler is used for both front and back. The size does not matter since the light will look the same regardless of the size of the coupler.

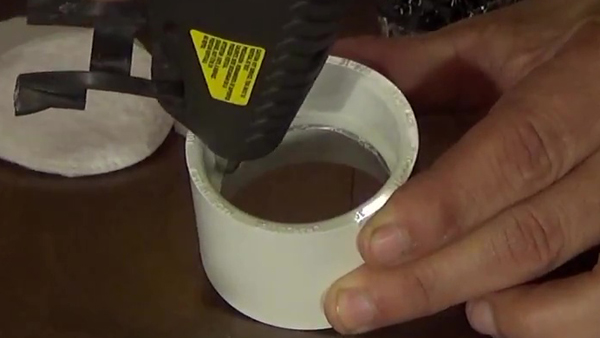
A bead of hot glue is first applied to the inside of a 1.5″ PVC Coupler.

Hot Glue in PVC Coupler
A bead of hot glue is applied to the inside of the 1.5″ ID PVC coupler.

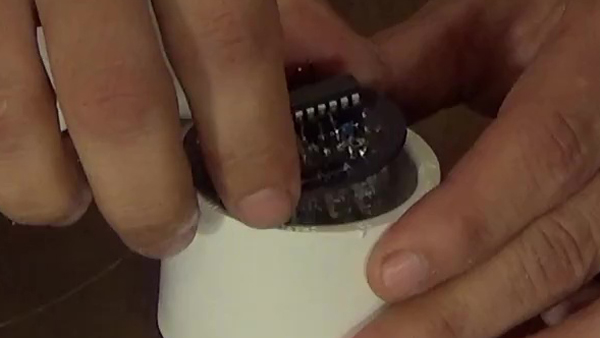
The PSI Electronics is than dropped inside of the PVC and held in by the hot glue. Be careful when you place this in. The LEDs are placed downwards so make sure they do not get damaged by the inner edge of the coupling.

PSI into Coupler
The PSI Electronic LED is dropped into the coupler.

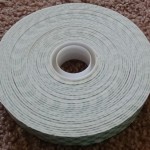
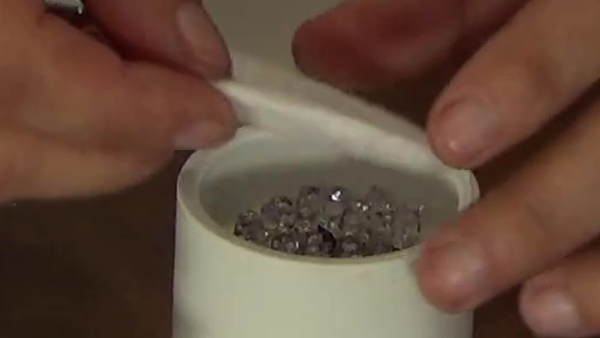
Two cotton rounds are placed inside of this to diffuse the light from the LEDs so they appear as one color and not separate bulbs.

Cotton round in PSI
Two cotton rounds placed inside the PSI Housing to diffuse the light.

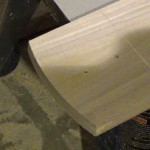
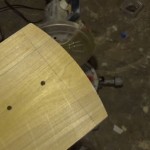
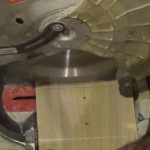
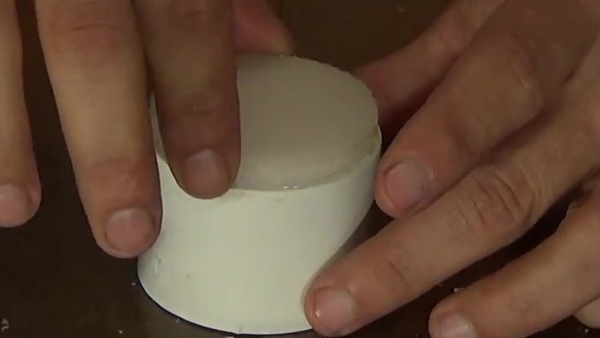
Another bead of hot glue is placed on the top of the PVC housing where the cotton rounds sit. Place the cutting board circle on the glue and hold until glue sets.

Cutting Board on Coupler
Putting the Cutting Board circle onto the Coupler.

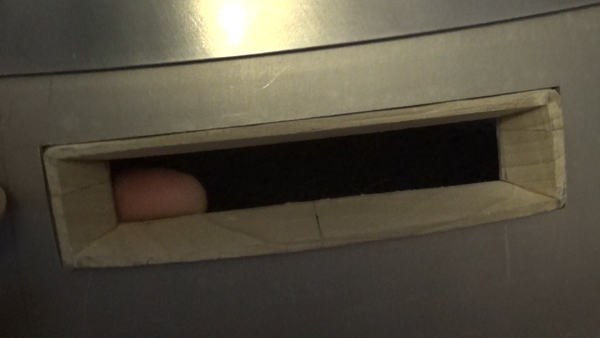
Hook the PSI up to the electronics to see how it looks!

Wooden Rear Logic Display Surround Pt. 1

The Rear Logic Display Surround hosts the Rear Logic Display on the back of R2.   This one was made similar to the way I made the Front Logic Display Surrounds.  The difference is that this piece is rounded and needs to be cut and measured very carefully so everything comes out correctly.  The materials used is a piece of poplar hobby wood and some double sided tape.  I used a plunge router to cut the curve and a miter saw to cut the bevel and miter.  To do all the measurements, I used my ruler and rafter square.

The first step I took was cutting the circular portion of the surround.  I made a plastic circle cutting guide for my plunge router to cut the 9.125″ radius circle.  I then made a hole in a piece of poplar down the center of the board 9.5″ from the top and secured the board to a table and cut the circle.

I then marked my board, from the top center of the circle going  down, the total height of the piece.   Another line was marked perpendicular to that line so I can cut that piece off the board.  Once cut off the board, this piece will be used to make two halves of the surround.

The next post in this series will go over cutting this round section into two halves with proper dimensions.

Wooden Logic Display Surrounds Pt. 1

Logic Display Surrounds

Logic Display Surrounds are made a few different ways.

  • Aluminum
  • Resin
  • DIY

I chose the DIY path since I felt it would give me the greatest benefit and cost the least since I already have tools to do so.  All I needed were the plans, tools,  materials, and a way of constructing them.  I had 3 out of the 4, so I knew this would be a challenge.

Small Logic Display Surrounds
Small Logic Display plans

The plans were found on the R2-D2 BUILDERS CLUB Yahoo group.  Since these plans were in decimal format, I had to convert them into the American Standard of Feet and Inches.  I used a calculator to come up with most of the fractions and a few I knew were a hair off from being in between two sets of fractions such as the distance between a 1/32″ and 1/64″.  Basically meet those two in the middle and that gives you the number.

The tools need to complete this project are as follows.

  • Router w/ table
  • Miter Saw
  • Wood Glue
  • Ruler with 1/32 measurements
  • Rafter Square

Now I needed some construction material, so it was off to the local DIY hardware store to buy a piece of Poplar hobby wood for around $8.  The piece I wanted was 1/2″ thick and 4″ wide, just the right height for the part I had to build.  The good thing is that this will give you enough wood in case you mess up.  I actually bought 3 of these in first trying to figure out the best way to construct these surrounds since I didn’t have any instructions and I was trying to figure out the best method to cut small pieces of wood.

Poplar Wood
Poplar Hobby Wood 4′ X 4″ x 1/2″


For the next part in this series, we will be  marking our wood board and CUTTING OUT THE PARTS.